Make your own custom magazine file
Posted: in Ideas, Projects
If you work in a creative industry it’s important to stay inspired. Here at Diginate we love to keep up to date with the latest trends in design and tech – much of it ends up on our Pinterest boards. We also receive lots of magazines – Design Week, Photoshop Creative, Adventure Fishing.
Of course, these magazines not only provide ideas, inspiration and education, but are also a great opportunity for timewasting. Shocking, right? To combat this we thought we’d make a custom magazine file to keep our reading matter tidy, and shame those people abusing it. Here’s how we did it:
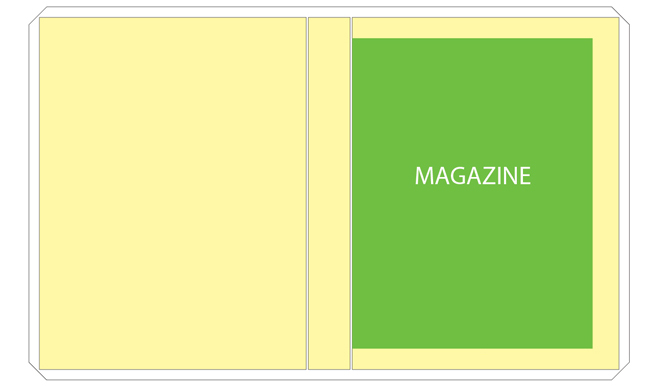
First up we measured out a template so our magazines would fit nicely in the file. The yellow panels are the cardboard sheets which form the structure of the file. We’ve left a 2mm gap between the spine and the front and back panels to allow it to fold.
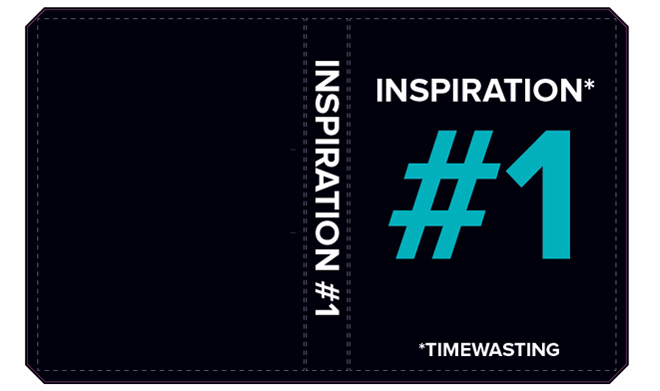
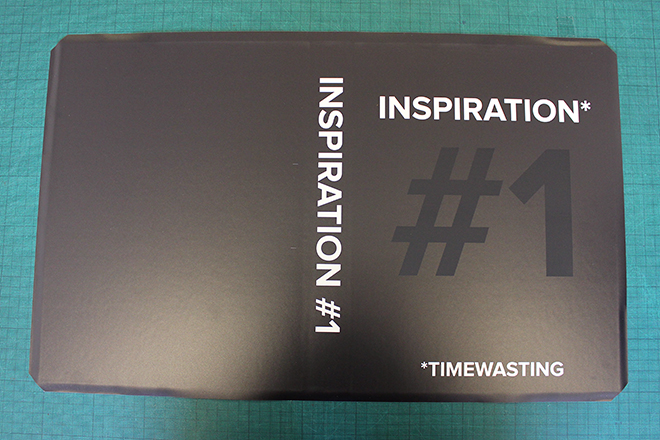
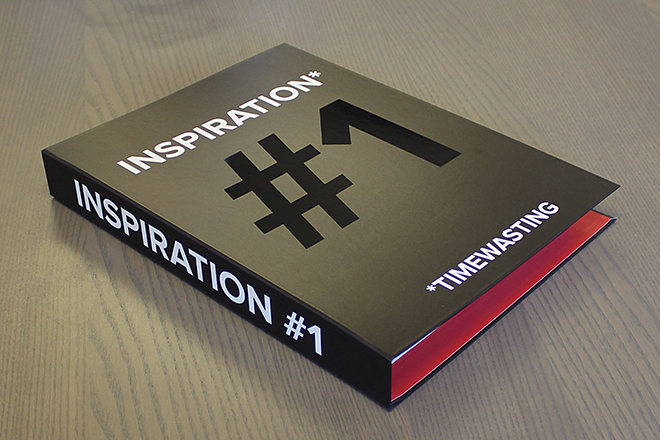
Next we designed the outer cover of the file. See what we’ve done there? We’re going to use a large vinyl sticker with spot gloss varnish for the outer cover – the blue ‘#1’ element will be gloss varnish on the black background.

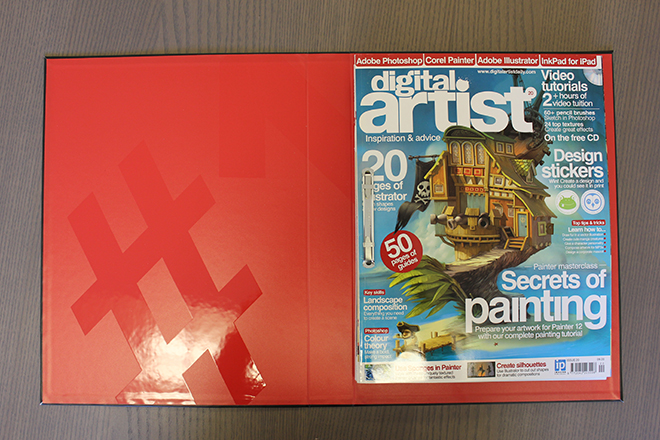
Here’s the graphic for the inner panel of the file. Again, we’re going to use swanky spot gloss varnish to set our timewasting magazine file apart from all the other timewasting magazine files on the market. You could always use standard gloss or matt vinyl stickers if you don’t want to glorify timewasting, or even metallic stickers if you want a super luxury look.
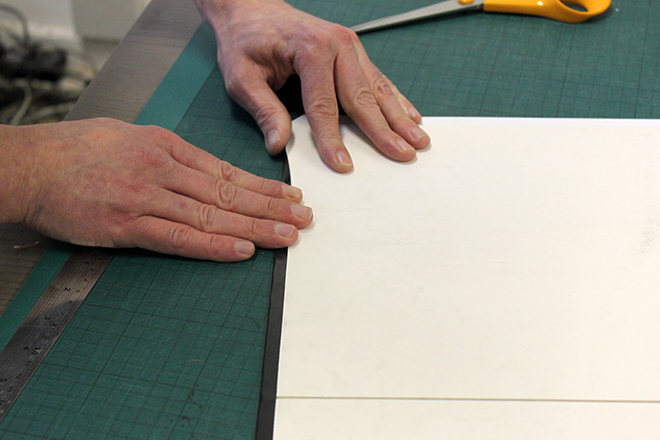
With the groundwork in place it’s time to crack on with the construction. First we cut our panels from rigid mountboard. You can get hold of this at any art and craft store:
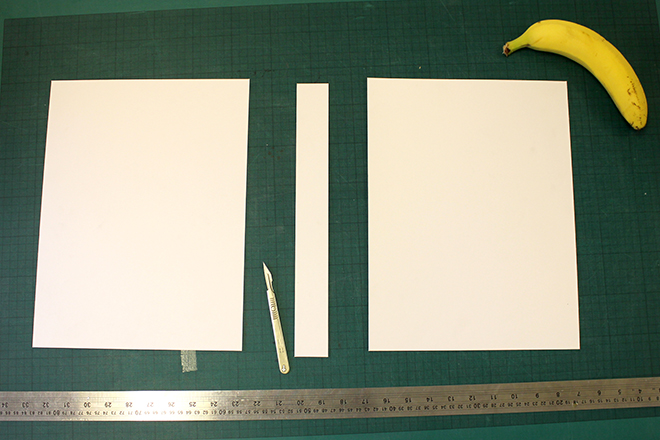
Here are the completed cardboard panels, plus a banana in case we run out of energy to complete the project. Here are our printed stickers:
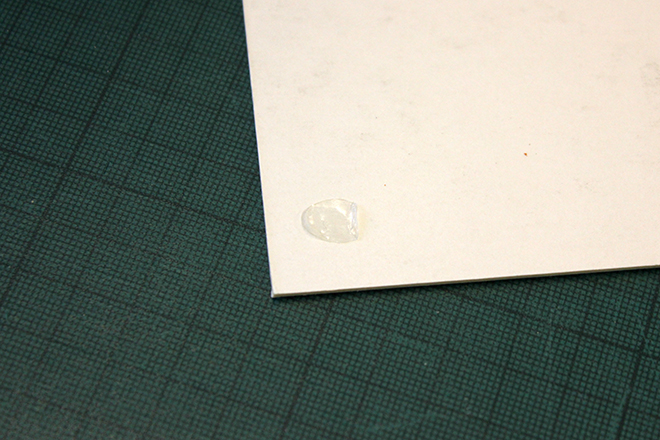
Next, we needed to fix the panels in their correct positions before applying the stickers. Luckily we had some removable glue dots from when we made our Futuristic Factory sample packs. Perfect!
Excuse our mountboard being a little grubby – we’ve had it kicking around since we made our wrapping art frame. It doesn’t matter – this will be covered by glorious stickers.
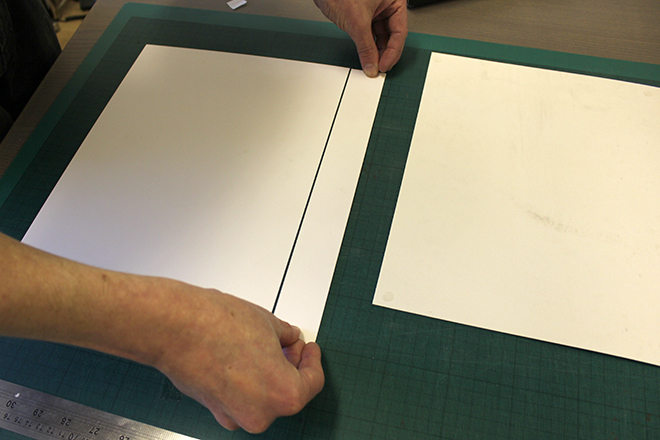
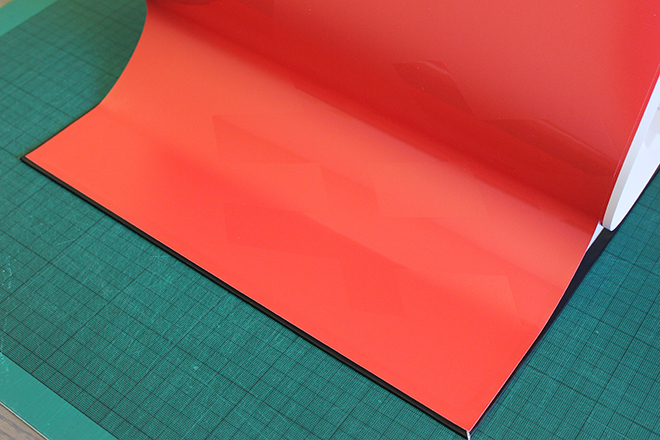
With the panels in place we lined up the cover sticker and carefully applied it across the panels:
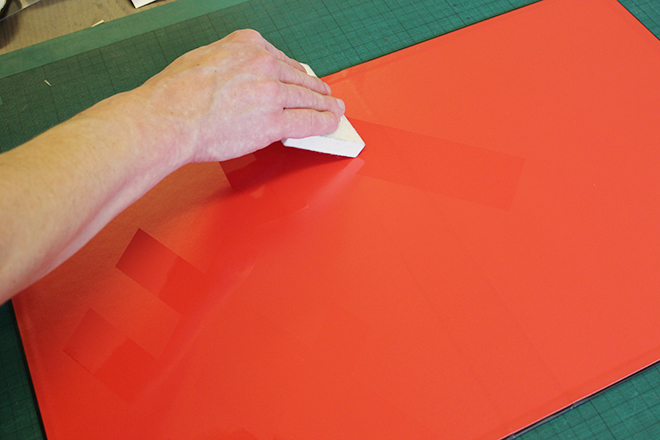
Here it is, all applied. Notice the scruffy side bits? Fear not, we’ll unscruffy them next. Flip over the file…
Fold over the edges neatly. Now you’re ready to apply the inner sticker:
Carefully position the edge of the sticker on one end of the inside cover…
…and stick it on carefully.
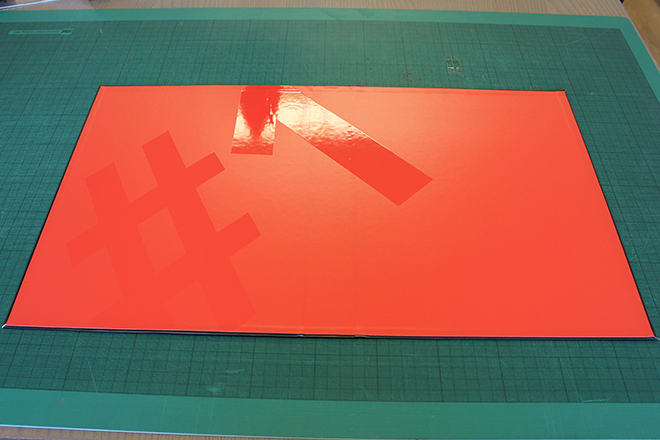
Here it is. No more sticking required, we’re on the home straight.
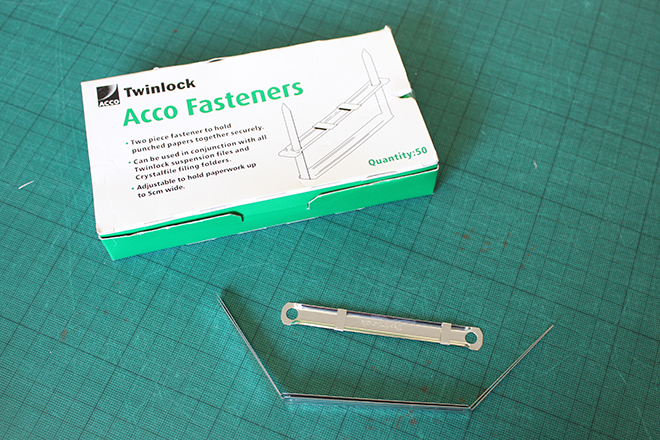
Here’s what we’re going to use to fix our magazines in the file – ACCO Fasteners. We don’t know what ACCO stands for – maybe ‘A Cool Collating Opportunity’. Thinking one step ahead (as always), we marked the points where the prongs would go through the sleeve on the sticker artwork, so it’s just a case of popping the tip of a craft knife through, avoiding all major arteries:

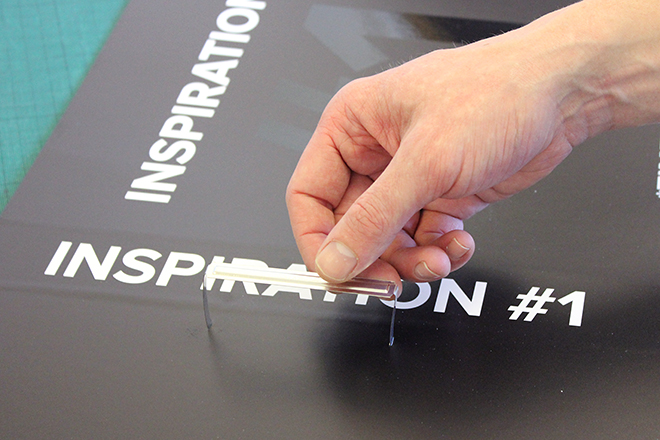

Mmmmmm, prongy. This is a good time to consume your banana – the serious manual labour is coming up.
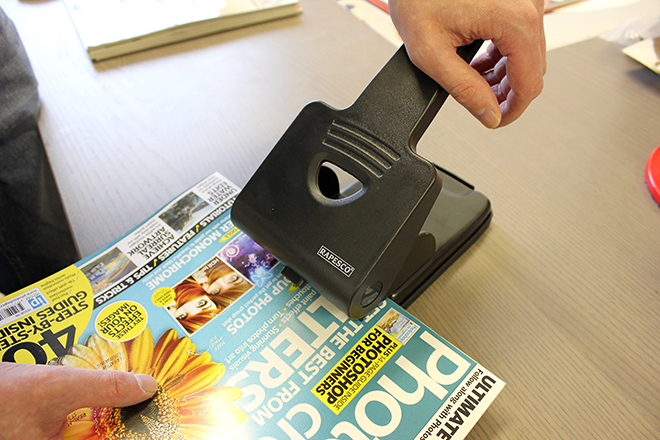
Ready? Good. Now grab your magazines and a heavy duty hole punch, and get a’punchin.
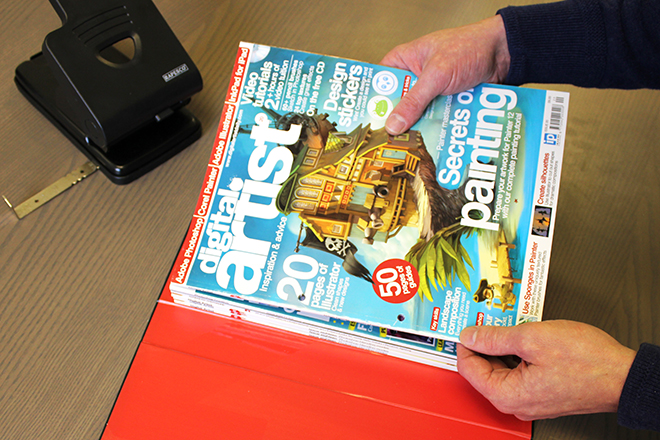
Slot the magazines onto your prongs…
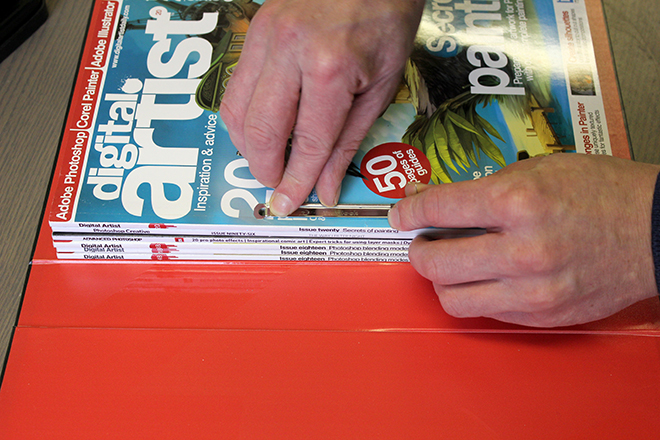
And fix in place with the other side of your ‘A Cool Collating Opportunity’ Fastener.
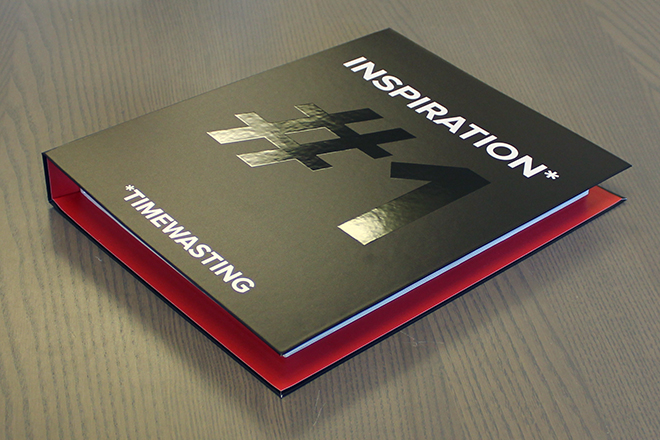
And we’re done. Check it out!
Once your file is file is full just make a matching #2!


