We made a wrapping art frame!
Posted: in Design, Miscellaneous, Projects
We were so happy with our Acrylic Art Frame we wanted do another, similar project. Having just about recovered from drilling the holes for the previous frame (these concrete walls are tough!), this seemed like a good time to do something about it.
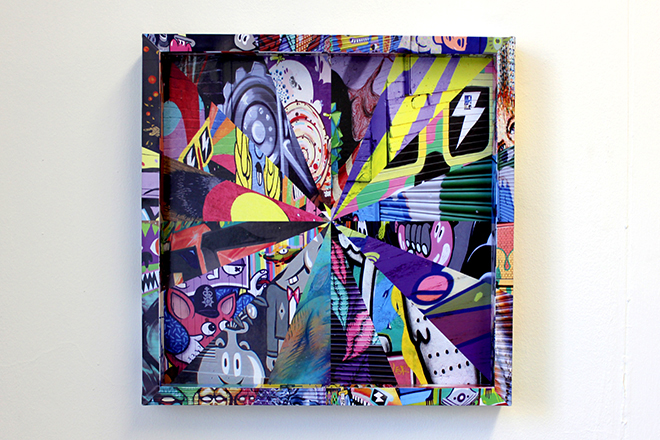
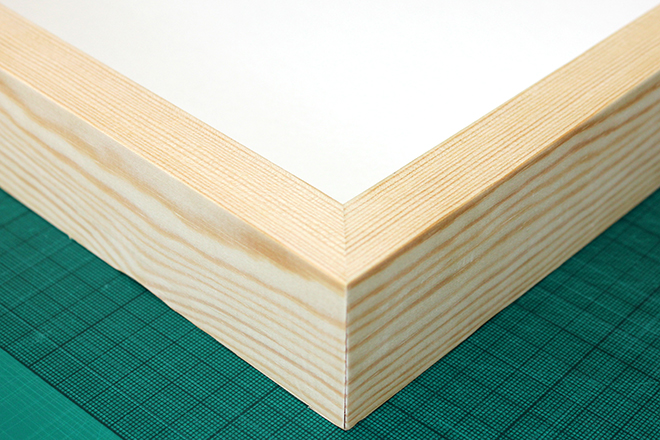
The idea of having a picture frame with images wrapped around the actual framework is something we’ve been thinking about for a while. This led us to contact Jackson’s Framing in Shoreditch, who do all kinds of bespoke framing. They made us a very nice 40x40cm Extra Deep Rebate Pine Box Frame, which we then ‘wrapped’ in Gloss Vinyl stickers.
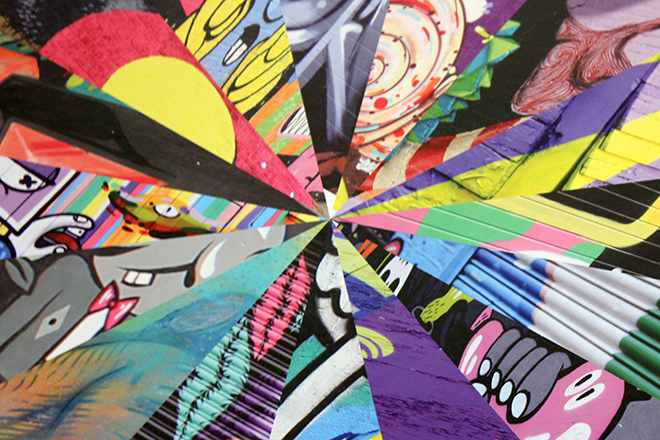
We wanted this frame to go on the wall next to the acrylic one so we decided to use our Street Art photos again, but this time we made a slightly different design. We liked the idea of having the images seemingly burst out of the frame, and our colourful Street Art pictures were perfect for this. Our photos include art by Malarky, Billy, and Flip among others.
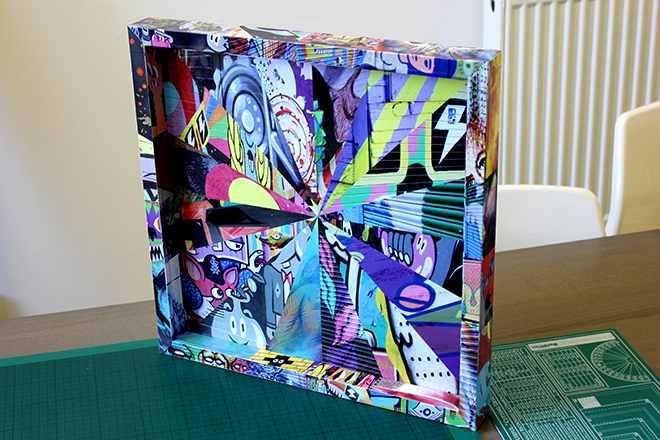
Here is the finished frame. Now check out how we made it!
After a bit of measuring, we were able to create Custom Shape Gloss Vinyl stickers to go on each side (backing, insides, front and outsides) of the Pine Box Frame.
The lovely pine wood reminds us of Norwegian cabins and Twin Peaks. After watching all the Log Lady introductions while clutching the frame, we decided to finish the work.
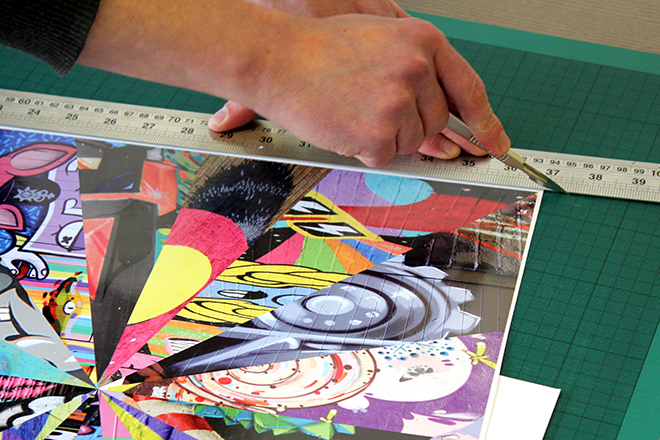
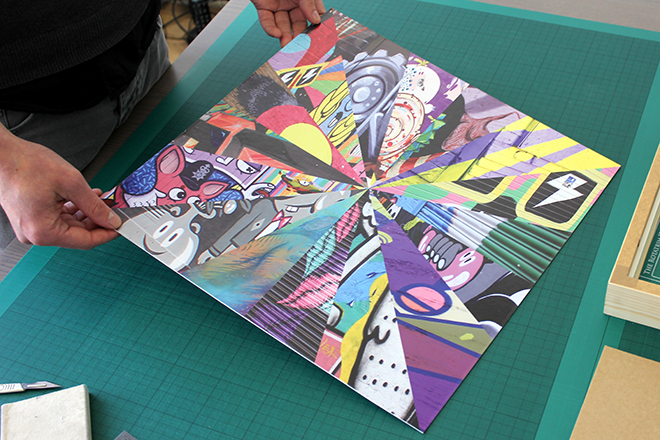
We started by cutting the sheet into more manageable parts.
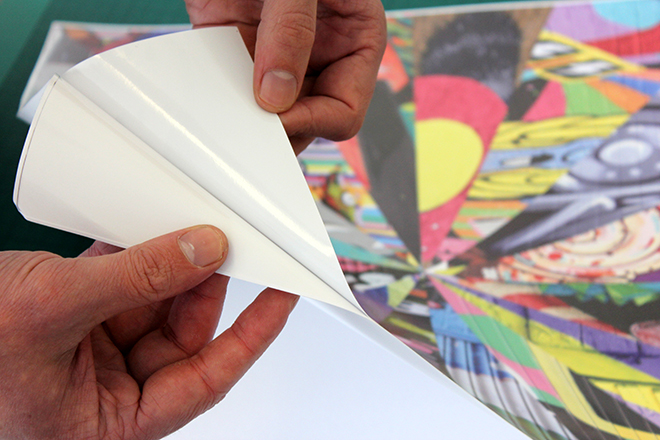
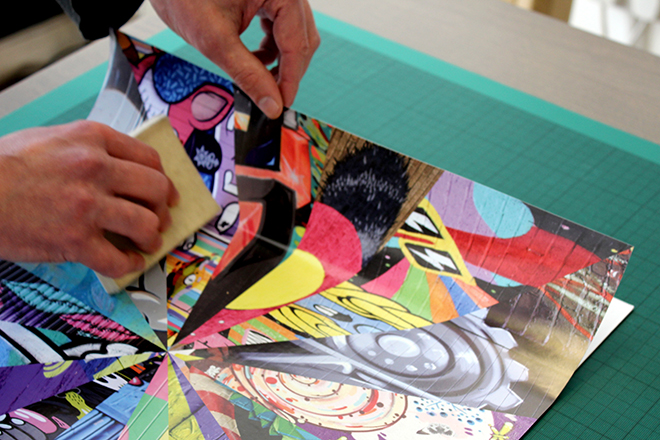
Then we peeled off the first sticker…
…and carefully stuck it to the backing paper, making sure to not leave any air bubbles. All the stickers have 5mm bleed so we didn’t have to worry too much about getting them spot on.
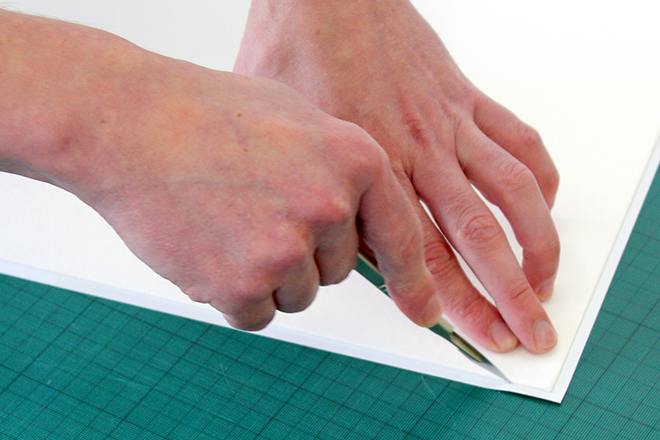
After that it was just a matter of cutting off the excess vinyl.
That’s it for the first part.
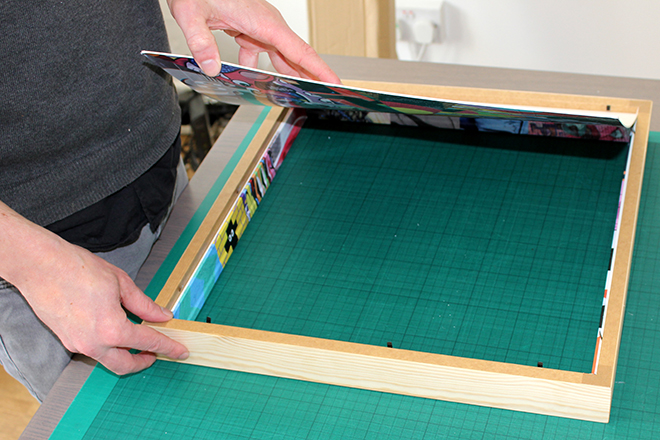
Next on the list were the insides of the frame.
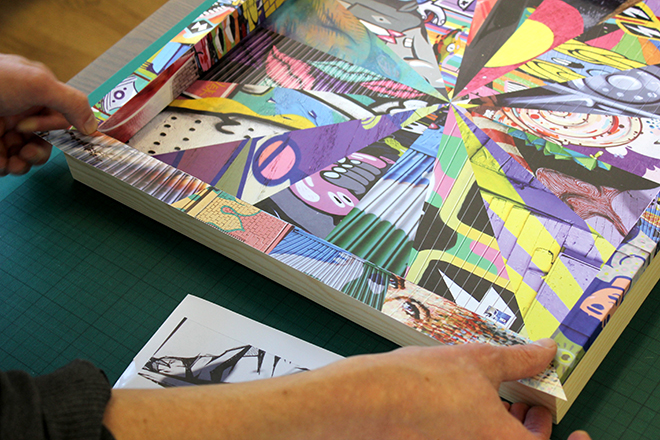
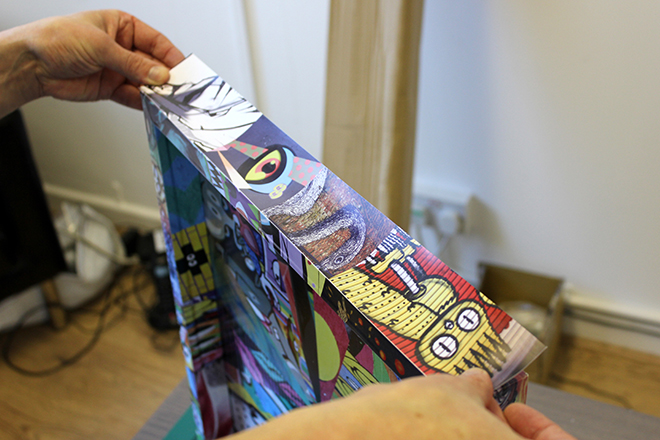
Thankfully it was fairly easy to stick them on and wrap the excess vinyl around the frame.
Only the last sticker…
…had to be cut so it doesn’t overlap.
We put the backing back in.
Next step: the front.
This part was even easier than the last one.
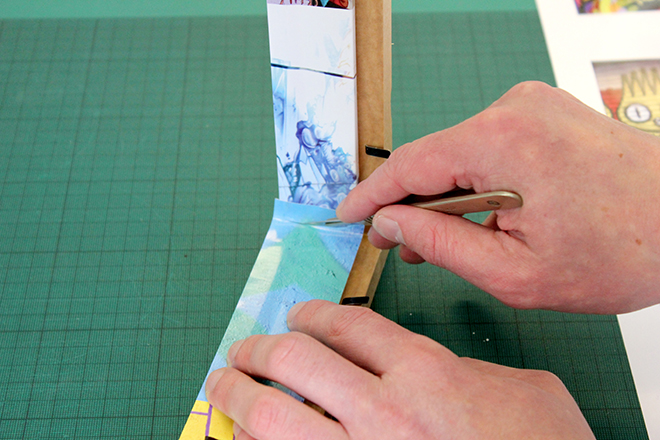
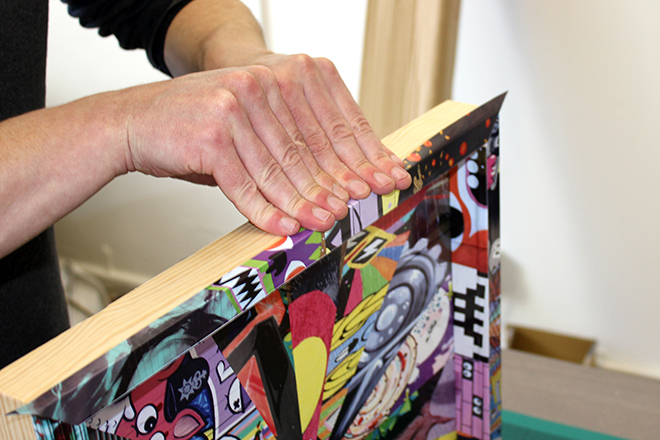
The final step was the outsides of the frame. We wrapped the stickers all the way around to make sure there was no wood showing through.
Almost there!
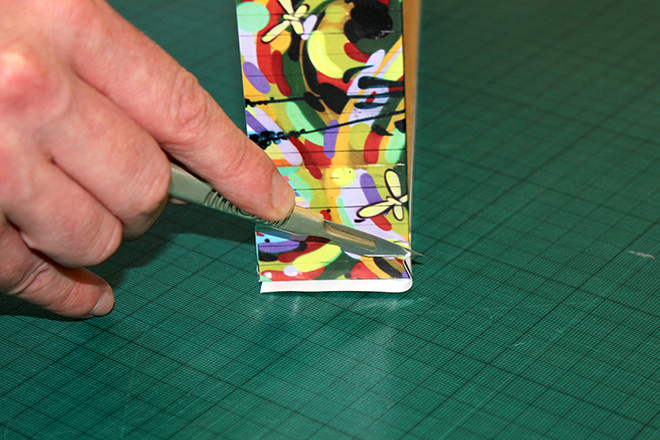
Finally, we cut off the excess vinyl of the last sticker with a scalpel.
Here’s our finished frame pre-hanging…
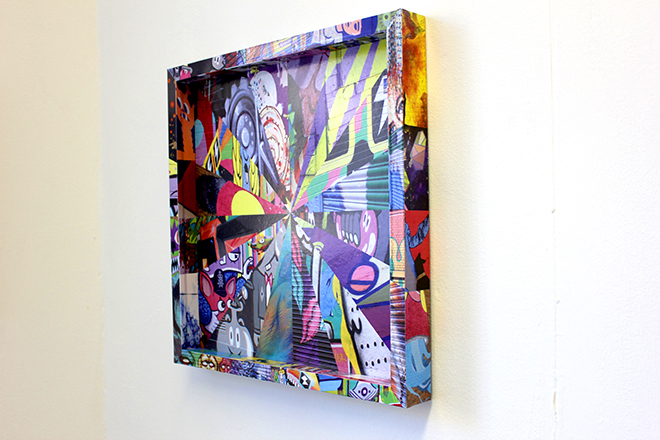
…and here it is on the wall!
It might be a bit difficult to follow all the lines at first, but they’re there. Just don’t stare at it too hard for too long or you will get a headache.
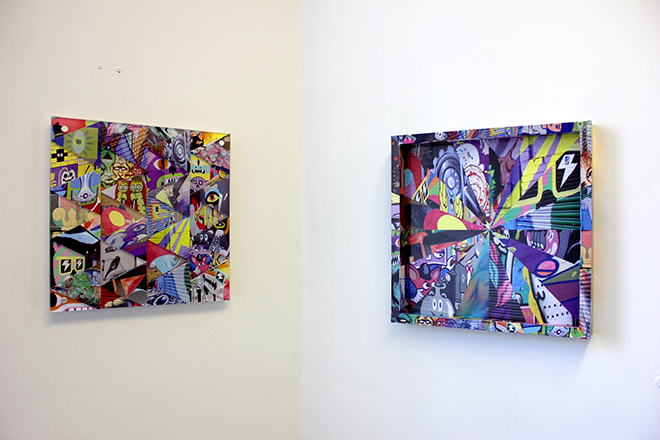
Here it is with the Acrylic Frame.
We’re really happy with the frame, even though watching all the Log Lady intros in one go and staring at the frame for too long means we now have terrifying nightmares and paranoid visions of Bob from Twin Peaks.
