Tutorial – Create your own Photo Cube
Posted: in Projects
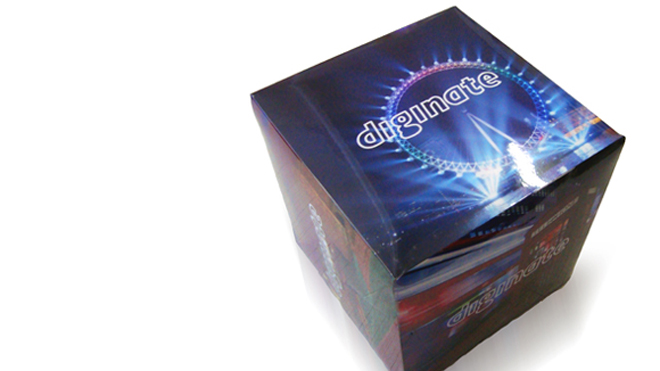
In this tutorial I’ll show you how to make a photo cube from a diginate.com Laminated Poster. Photo cubes are an easy and fun way to display images at events, for point of sale, exhibitions and general decorative home use. Imagine different cubes stacked as part of a shop window display, or hung from a bedroom ceiling.
In this example I’m going to make a cube using a 70cm x 95cm laminated poster. Here’s the template in pdf format. In this case the sides of the cube will be 22cm square, but you could adjust the scale of the template to change the size of the finished cube.
Step 1
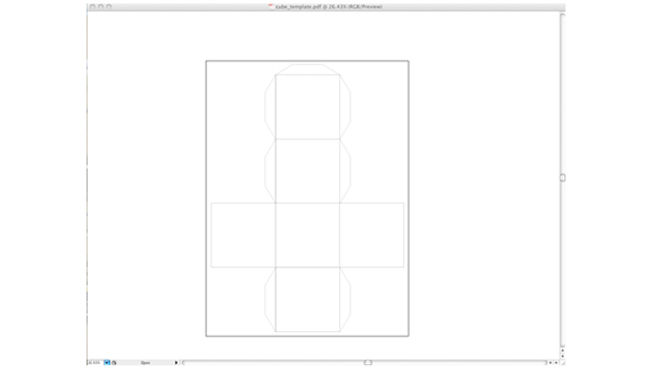
Open the template in your image editing software (e.g. Adobe Illustrator or Adobe Photoshop). Resize if you’d like to alter the size of the finished cube.
Step 2
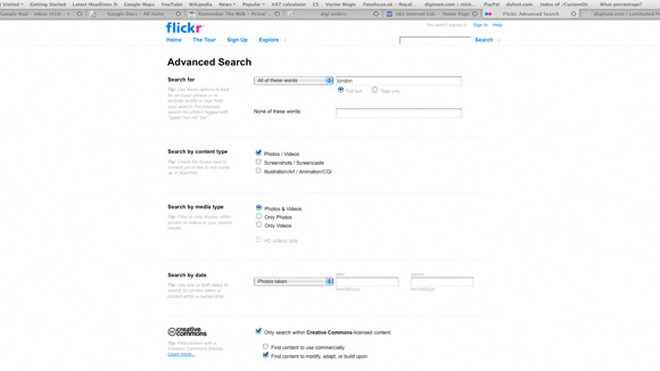
Source your images. Because diginate.com is based in London I’m going to source Creative Commons Licenced images of London from flickr.com. You could also use your own photos, company logos – anything you want!
Step 3
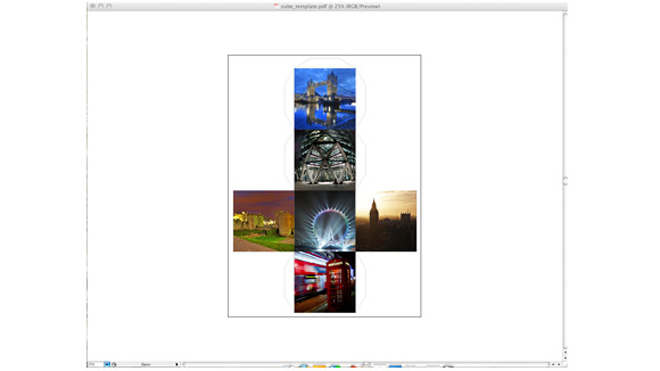
Add your images to the template. It’s best to extend the images out a little onto the tabs to avoid slithers of white where the panels join. I forgot to do this.
Step 4

Your finished artwork should look something like this. As I said in Step 3, it’s best to extend the images onto the tabs a little – I didn’t do that on this example.
Step 5
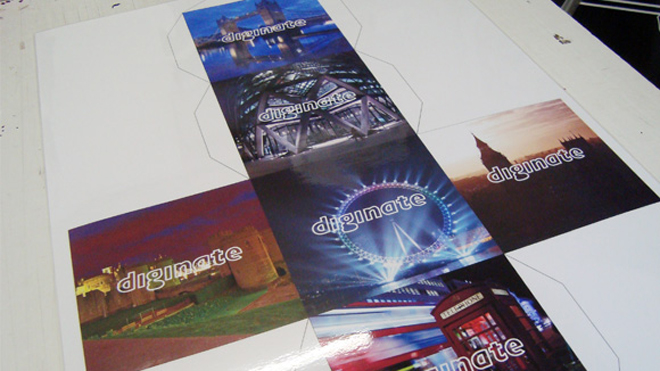
Order your poster! I’d recommend using our Laminated Posters for extra rigidity. When it arrives it should look something like this.
Step 6
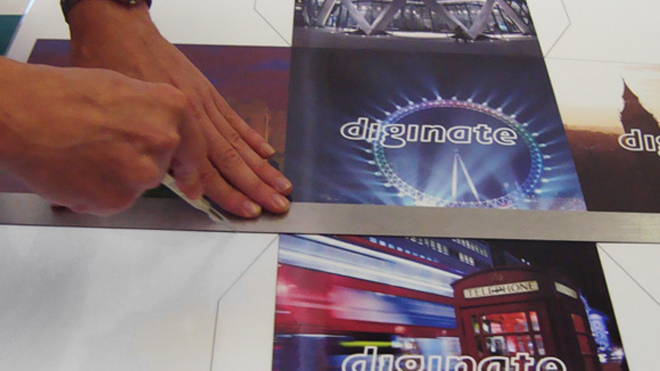
Carefully cut around the outside of the template using a craft knife.
Step 7
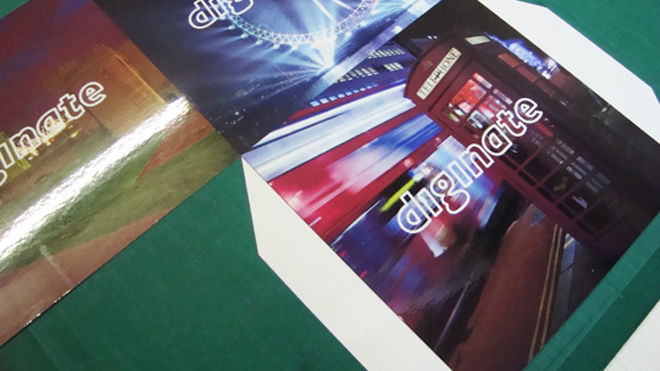
You should end up with something like this! I’ve added some diginate.com logos to brand my cube.
Step 8
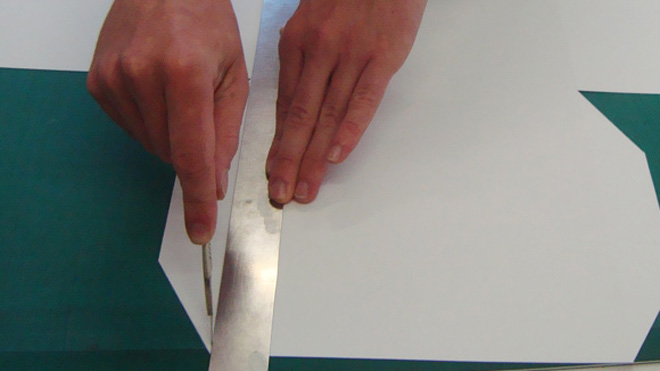
Now turn over the poster and score down the folds. I’m using a craft knife with only a tiny amount of pressure.
Step 9
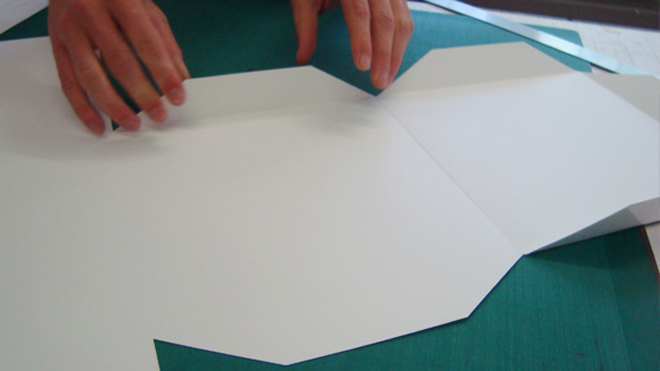
Fold up the tabs to make sure they’re properly scored.
Step 10
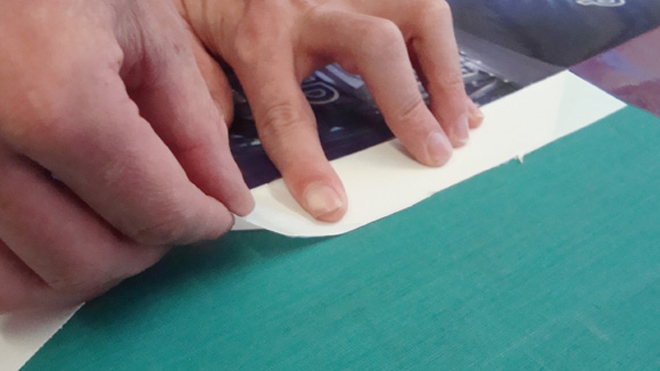
Apply double sided tape to the tabs. You could use glue instead but it’s likely to be messier and a little trickier to construct the cube.
Step 11
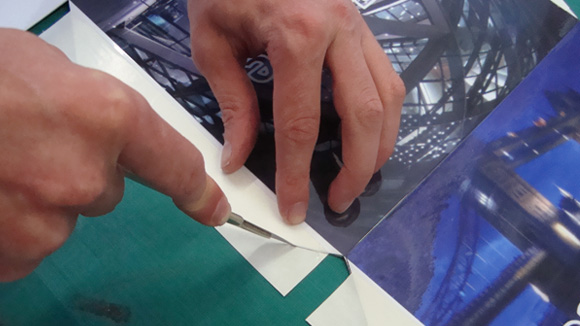
Remove any excess tape.
Step 12
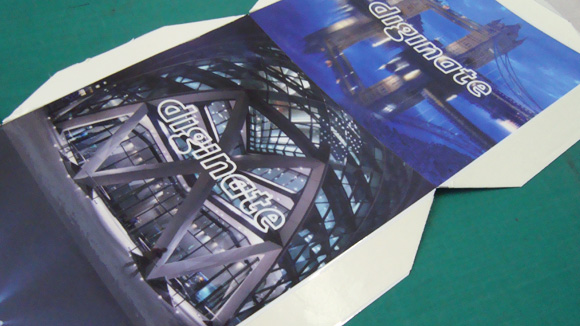
Your cube should look something like this, and is now ready to assemble!
Step 13
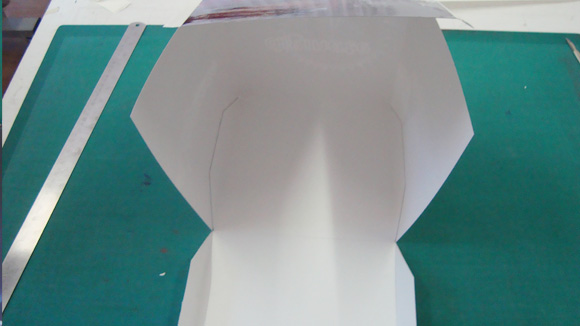
Carefully assemble the cube on a flat surface. The trickiest tab is the last one.
Step 14
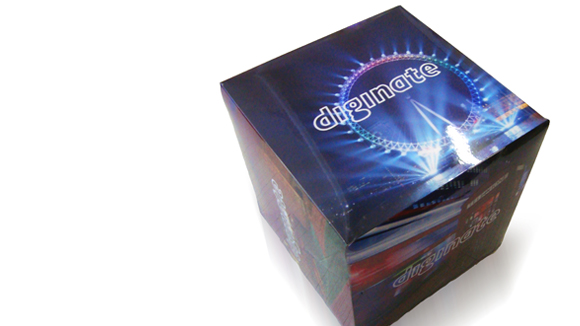
Finished! The end result is suprisingly rigid, and the gloss finish looks great. At this point you could attach some thread if you wanted to suspend it.


