The Ultimate Guide to Custom Laptop Stickers
Posted: in Design
Ah, the humble laptop. A sleek, unassuming, essentially useless rectangle of technology—until, of course, you cover it in glorious, personality-packed stickers. Suddenly, it’s no longer just a laptop; it’s a billboard for your interests, an art installation, a conversation starter, or a mystery wrapped in an enigma (if you’re a fan of cryptic designs).
But how do you go about getting the perfect custom laptop sticker? Well, buckle up, sticker enthusiasts—we’ve got the lowdown on everything from design to application (and yes, removal, for the commitment-phobes among us).
Step 1: The Great Sticker Identity Crisis
Before you start slapping stickers on your laptop like a toddler with a sheet of star-shaped reward stickers, ask yourself:
- Are you a minimalist? A single, well-placed sticker might be your vibe.
- A maximalist? Cover that thing edge to edge like a walking scrapbook.
- A brand ambassador? Flaunt your business, your side hustle, or your favorite café’s logo.
- A collector? Grab a bunch from events, brands, and travels to make your laptop a storybook of memories.
Once you know your sticker persona, it’s time to design.
Step 2: Designing Like a Pro (Even If You’re Not One)
You don’t need a design degree to make a killer laptop sticker. You just need a little creativity (and maybe a free design tool like Canva).
Things to consider:
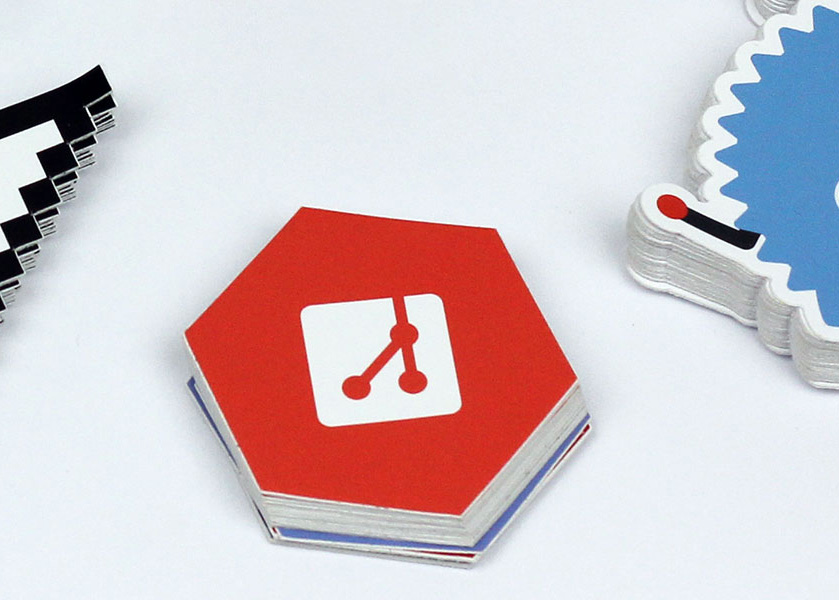
✔ Shape & Size – Custom shape, circular, square, or—dare we say it—hexagonal (hello, techies 👋)?
✔ Color & Contrast – Bold colors pop. Transparent backgrounds look seamless. Black and white? Classic.
✔ Material Matters – Matte for a subtle look, gloss for that shiny finish, or holographic for serious eye candy. Glitter… now you’re just showing off.
✔ Durability – Waterproof and scratch-resistant stickers keep your laptop looking fresh even after years of coffee spills and backpack shuffling.
Need inspiration? Check out the hexagon sticker craze—a movement born from the depths of GitHub that tech communities still swear by.
Step 3: Printing Perfection
You could print at home, but it would likely be a paper finish that will look bad, fast – and then you’ve got the problem of cutting. Instead, get them professionally printed for crisp edges, long-lasting adhesion, and that pro finish.
Need a supplier? Here at Diginate we have your back with high-quality vinyl and metallic stickers that are durable enough to survive daily life (and probably the apocalypse, though we haven’t tested that yet).
For an easily removable alternative to a vinyl stickers, our wall sticker product is removable, repositionable and perfect for larger, trickier to apply graphics.
Step 4: The Art of Application
Alright, you’ve got your custom stickers in hand. Now what? DO NOT just slap them on randomly! Follow these steps for a bubble-free masterpiece:
1️⃣ Clean your laptop – A bit of rubbing alcohol does wonders.
2️⃣ Plan your layout – Arrange the stickers before committing. Peel a corner and see how it fits.
3️⃣ Apply slowly – Peel, stick, and smooth it out with a credit card (or your fingers, if you’re feeling brave).
4️⃣ Admire your work – Look at that beauty!
Step 5: The (Inevitable) Removal Process
Maybe your interests change. Maybe your boss doesn’t appreciate your “Meme King” aesthetic. Either way, removing stickers doesn’t have to be a nightmare.
🔥 Heat it up – A hairdryer loosens the adhesive.
🧼 Peel gently – Slow and steady wins the race.
🍋 Clean up residue – Rubbing alcohol, Goo Gone, or even some olive oil will do the trick.
Ready to Stick It to ‘Em?
Custom laptop stickers are a reflection of you—whether that means repping your brand, flaunting your fandoms, or showcasing your love for absurd memes. So why not start designing today?
And when you do, tag us in your sticker-covered laptop pics! We’d love to see what you create. 🚀✨


