Illustrator tutorial: Introducing the Shape Builder Tool
Posted: in Design, Tutorials
Welcome to our new Adobe clinic! This is the first in a series of mini-tutorials about some of the lesser-known features of Illustrator and Photoshop. First up is the Shape Builder Tool, a pathfinder alternative which gives you much more control during the creation of vector shapes.
We use the Shape Builder Tool a whole lot at Diginate. In fact, we’re on our forth one, having worn the previous three out. It’s really great for punching areas out of white layers, and selecting spot gloss areas.
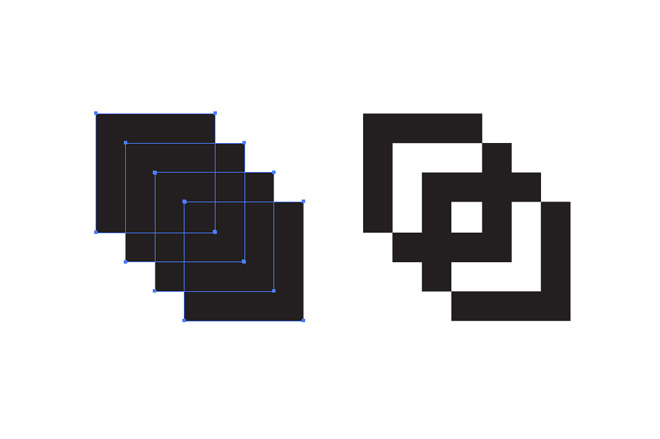
Start by creating a series of overlapping shapes. It doesn’t matter how many elements you want to use to create your new shapes, or their position: the shape builder works independently of these variables.
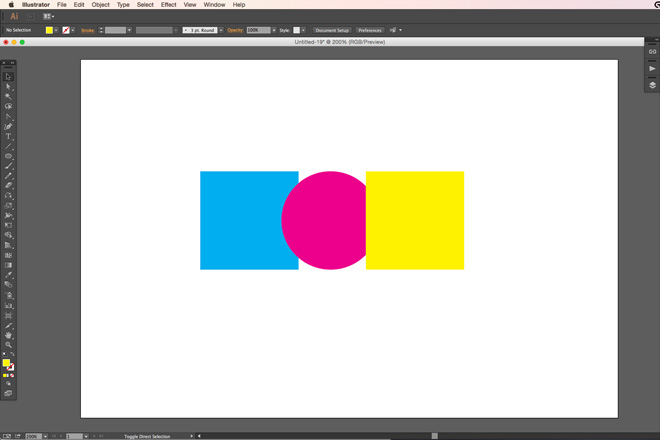
Next, select all of the shapes you intend to use to generate the new one.
If you wanted to merge/intersect these shapes you’d usually fire up the pathfinder palette. Anyone who’s ever used the tools in the pathfinder palette will know that the chances of making it do what you want it to do first time are around 12369864983/1. Time to get busy with the Shape Builder Tool!
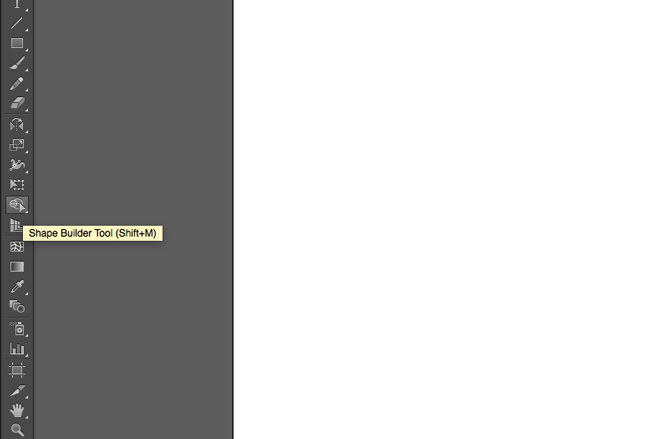
Activate it by hitting SHIFT+M or by clicking on the relative icon in the tool bar:
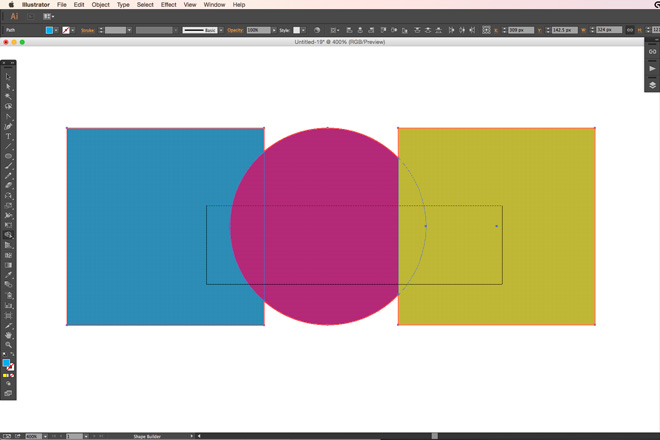
Here is where the fun starts. You can now subtract all the shapes you don’t want by ALT+clicking on them…

…Or you can merge simply by clicking and dragging across the shape.

Try to experiment with this invaluable tool – you’ll soon close that Pathfinder palette for good!