Here’s how to add metallic tints to your stickers
Posted: in Design, Ideas, Tutorials
Our metallic stickers are amongst our most popular products, and rightly so – they look fantastic. We start with a metallic adhesive film, print a white layer where your design will be, and then print the CMYK artwork layer on top of that. This makes sure that your colours are nice and flat, and not affected by the colour tint of the metallic film. Any parts of the design with no artwork or white layer will be the metallic finish you specified (brushed aluminium, for example).
However, it doesn’t have to be this way! Here’s a little hack which, if you’re using Illustrator or Photoshop, allows you to add metallic colours to your sticker design.
If you submit your artwork in ai, pdf, psd or eps format (prepared in Photoshop or Illustrator) you can include layers in your design. Many people use these separate layers to submit their custom cutlines, or spot gloss varnish layers: one layer has the artwork, a second layer has the cutline or gloss varnish.
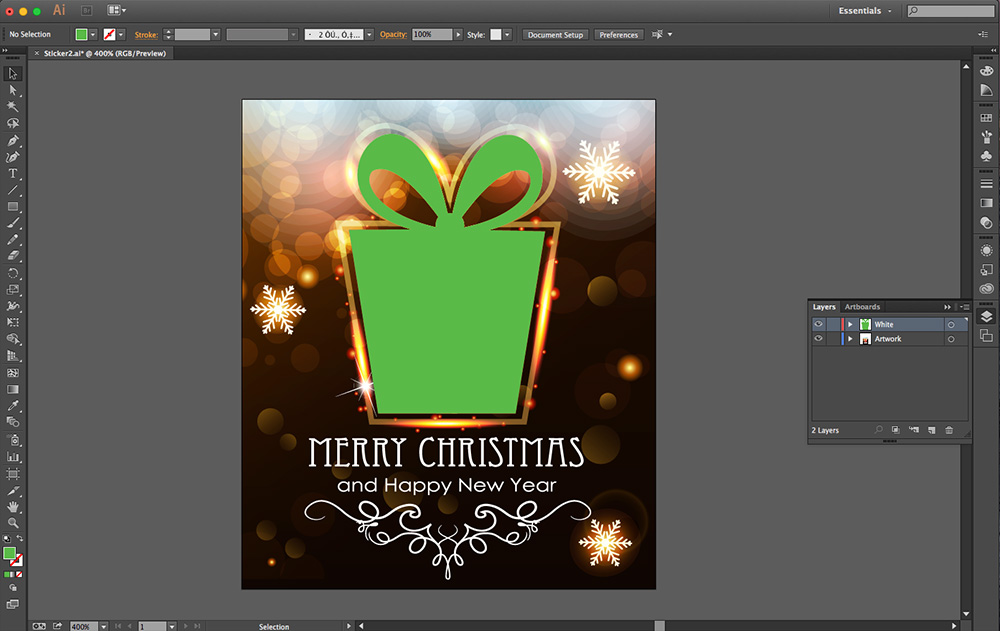
For our metallic and clear products you can also include a white print layer. This is useful if you have elements such as white text on your design, and need to differentiate it from other elements of the design. Here’s how the layer structure for a metallic sticker looks in illustrator:
If you submit files like this our artwork department will love you forever, take you out for dinner on your birthday, and name their firstborn after you. If you don’t submit files like this fear not, we’ll add a white layer to your file for you. No sweat.
The nice thing about including the white layer in your artwork file is that it allows you to control which areas of the design we back in white and which we don’t. If you don’t back a coloured element with a white area then the colour will retain the metallic characteristics of the metallic film. So, for example, a bright red tomato with no white layer will be a bright metallic red tomato, just as nature intended.
To show you what I mean, here’s a couple of festive examples. It is Christmas, after all.
Example 1
Here’s a metallic silver sticker I want to print. It’s nice to offer your Seasons Greetings:
On this sticker I would like the tree and white background to be flat print, and the baubles to be metallic. I want the ‘SEASONS’ text to be metallic red, and the greetings to be metallic silver, the unprinted finish of the film.
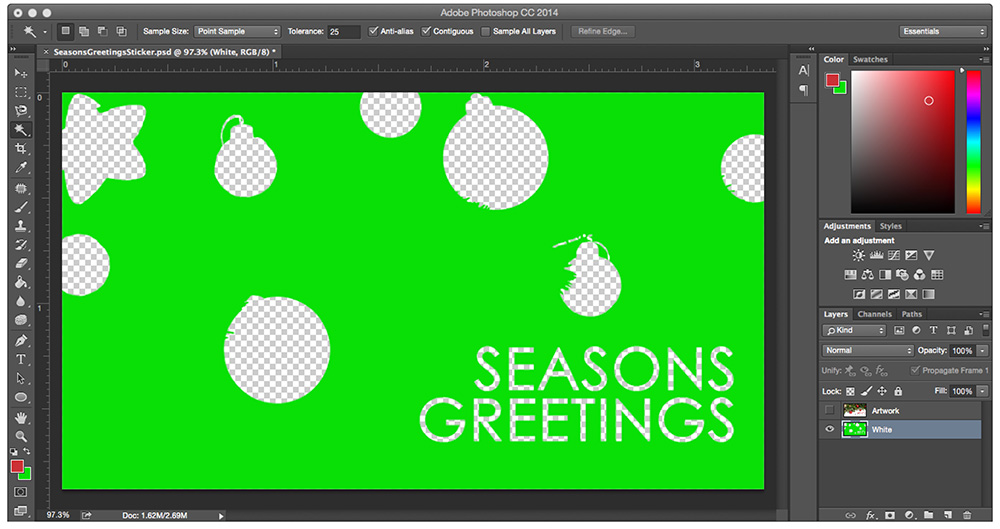
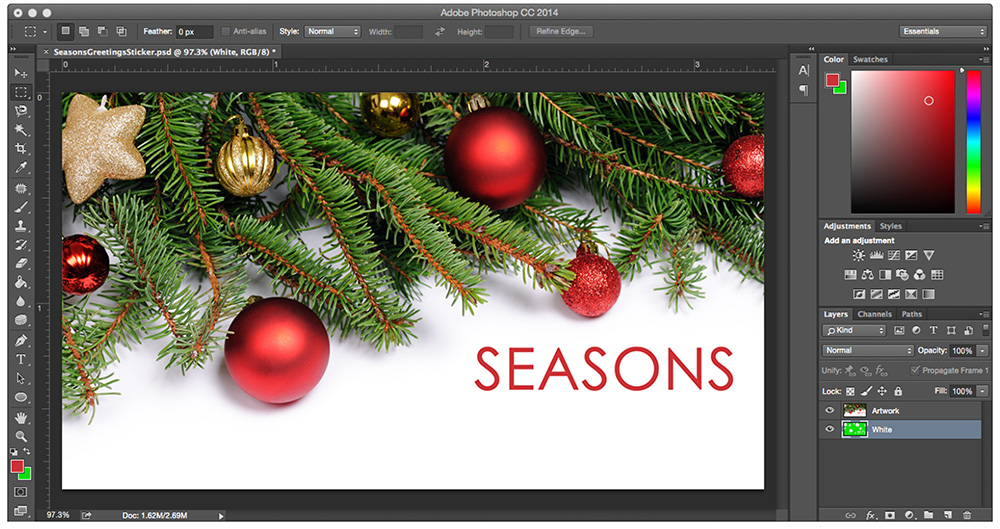
To achieve this, we need to lovingly prepare a white layer. I’m doing this in Photoshop as the artwork is a bitmap, not a vector. Here’s the white layer I’ve prepared:
Yes, I know, it’s green and not white. In fact, it can be any colour, so long as the layer is labelled white. I’ve used green because it stands out. To create the white layer I cut out all the elements I want to be metallic using the magnetic lasso tool, but you could use a layer mask, or countless other methods.
So now I know all the green areas will have white print underneath, and all the cutout areas won’t. Here’s the white layer overlaid on my artwork, so you can see which areas will be metallic on the finished stickers:
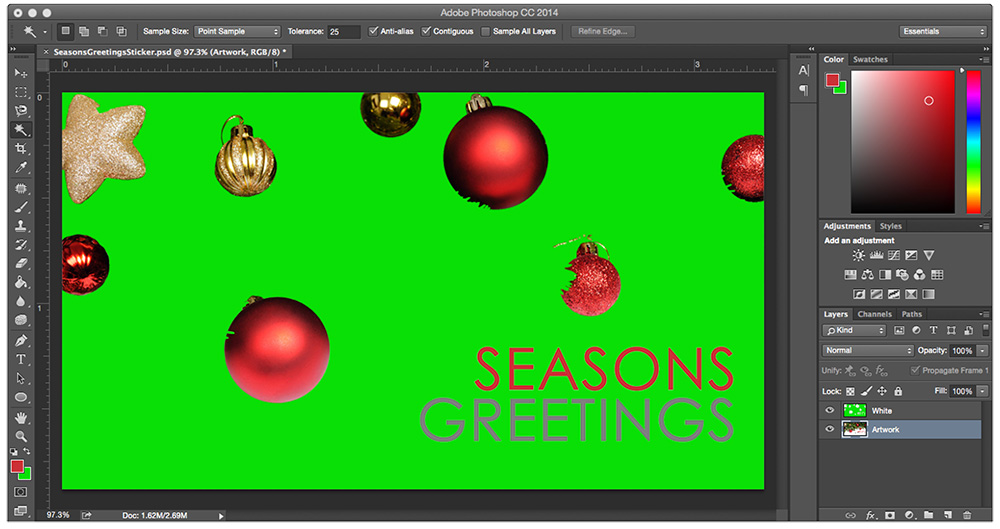
This is almost ready to upload to Diginate. There’s one problem though – the ‘GREETINGS’ text is grey on the artwork layer, which will print on the finished stickers, so we’ll end up with a metallic grey rather than the silver I wanted. So we need to get rid of the grey.
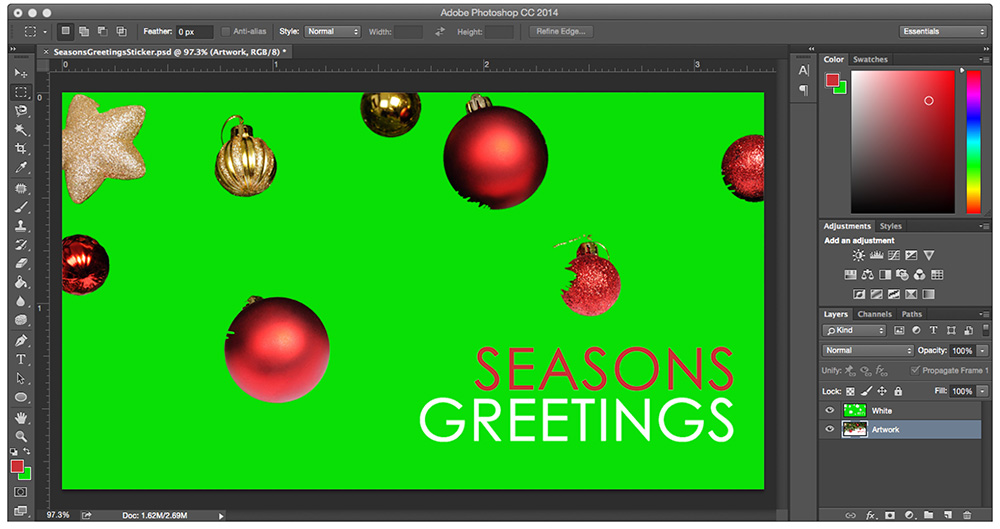
Here it is with the grey print removed:
And finally relayered with the white layer behind the artwork layer as per the final print:
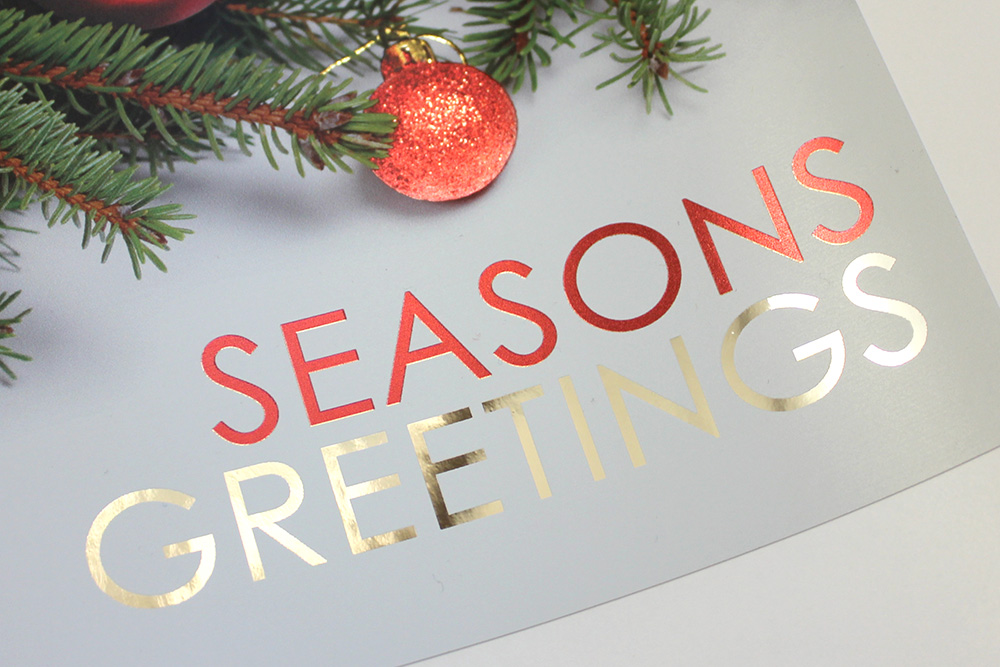
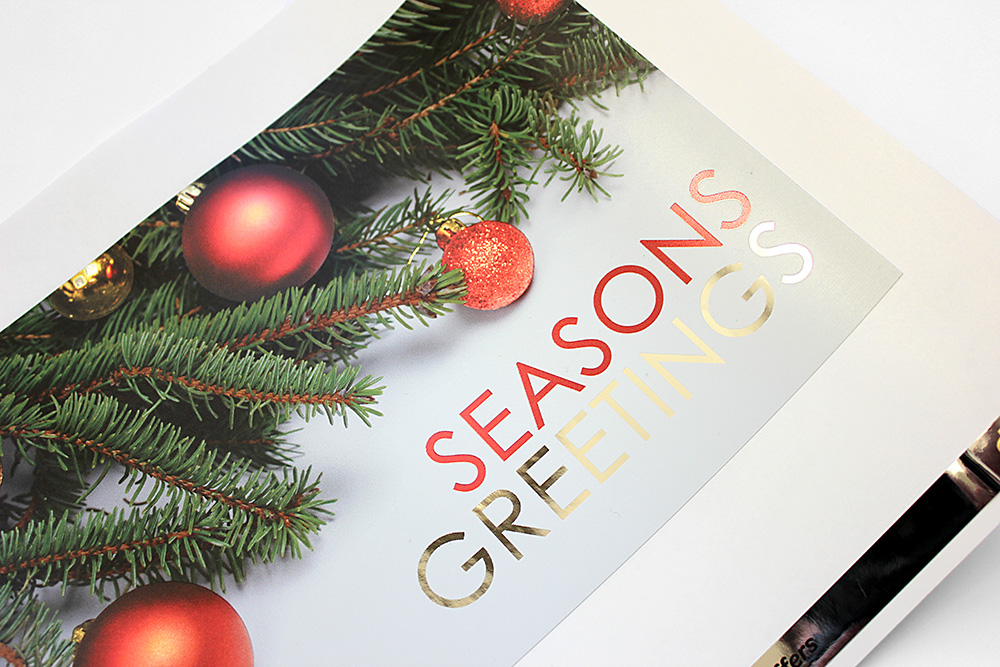
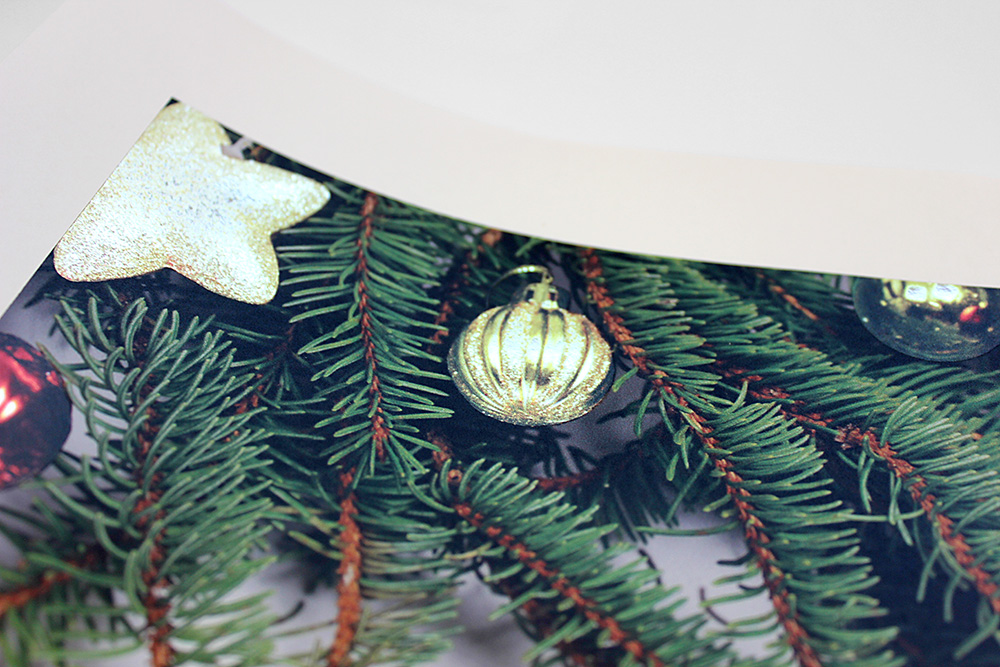
Here’s how the finished stickers turned out – just how I wanted them!
Example 2
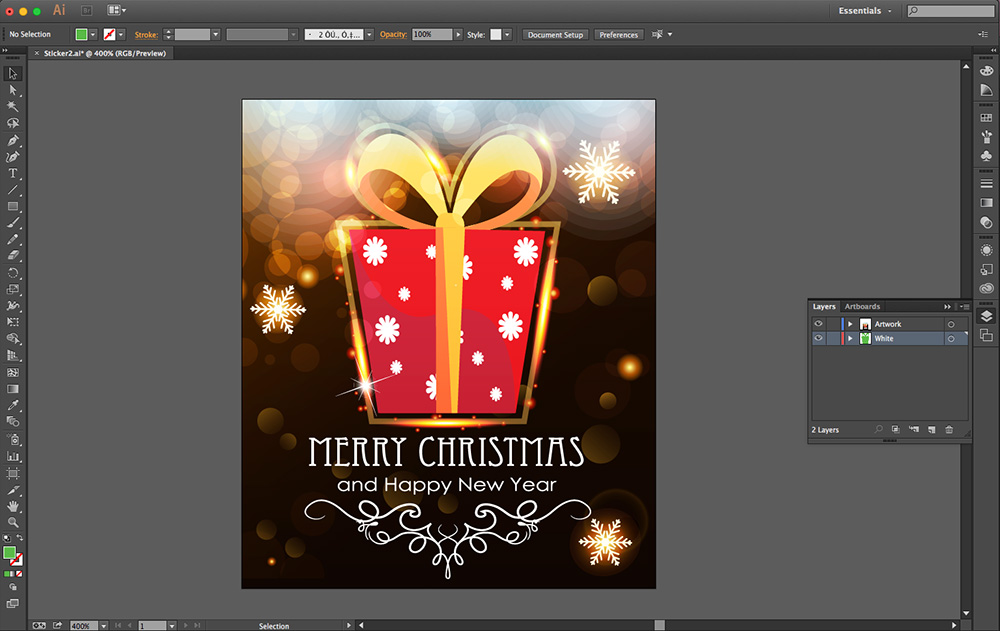
My second example is another design I’m going to print as metallic silver stickers. Here it is:
On this example I want the overlapping circles in the background to be metallic tints. The text and snowflakes should be the base metallic silver colour, and the main gift image should consist of flat, non-metallic colours.
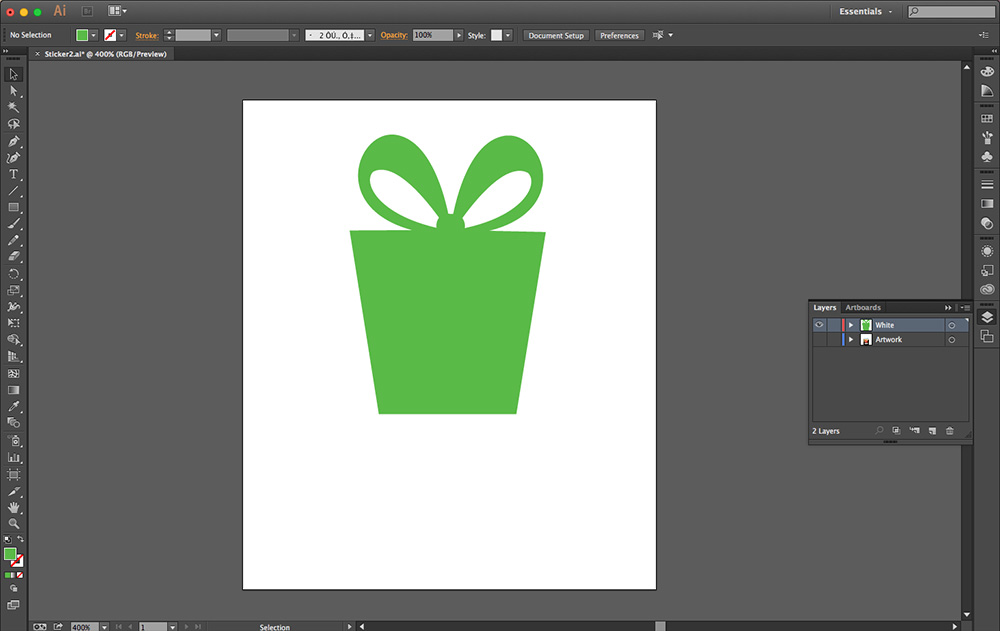
This image is vector, so we’re going to be working in Illustrator. The good news is that it’s much simpler to segment into layers than in Photoshop. Since I only want the main gift image backed in white all I need to do is select it in Illustrator, duplicate it onto a new layer (the white layer), and apply a fill. I’ve used green to indicate my white areas again:
Here’s the white layer on it’s own:
It’s as simple as that. Now all we need to do is turn the artwork layer back on, and reorder them so the properly-labelled white layer is behind the artwork layer. Boom, and we’re done:
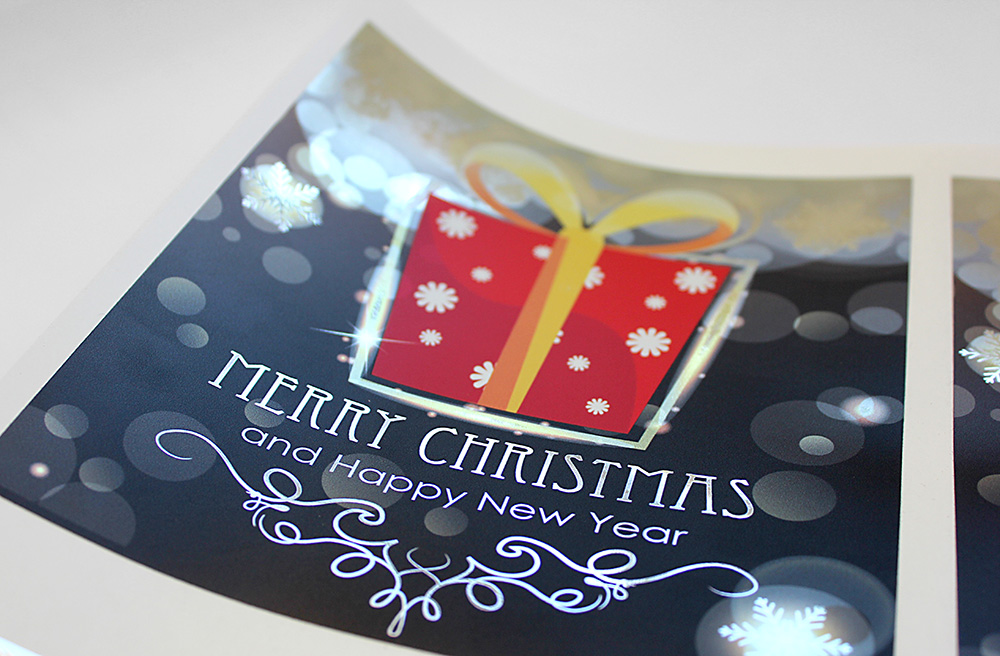
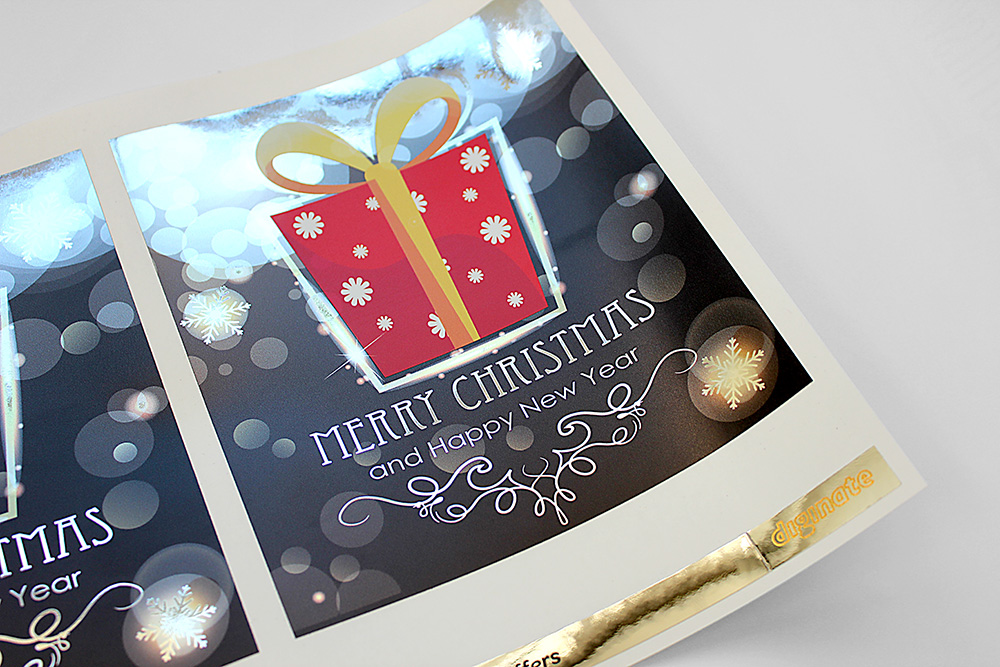
Here’s how my finished stickers turned out:
Tips and Tricks
I’ve used metallic silver stickers for both these examples as the metallic finish penetrates through the CMYK print nicely, and the neutral colour doesn’t alter the tone of your colours. Brushed aluminium will work well too. It’s best to avoid metallic gold and brushed gold for this purpose as the gold colour of the film will alter the colours of your print. Our sparkle stickers can work well for this, although the holographic nature of the sparkle finish may result in some interesting results!
The less ink saturation there is the more metallic your finished print will be; dark, heavily saturated colours such as navy blue or deep purple will look less metallic than colours such as baby blue or yellow. Blacks will not be metallic at all.
Make sure you label your layers clearly, and save them in a format which will preserve them, such as PSD in photoshop, and Ai/pdf in Illustrator.
