DIY XMAS – Customised invitation tins
Posted: in Projects
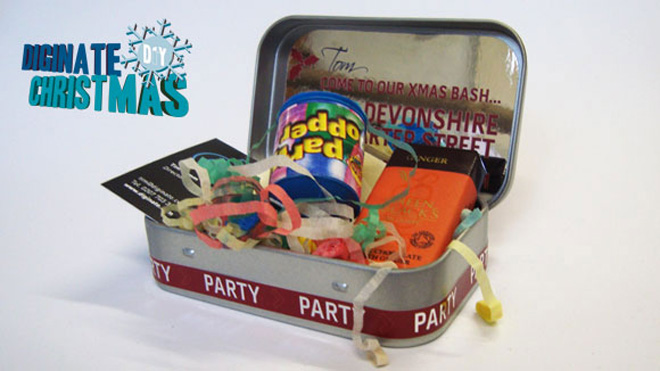
A unique way to send your party invites this festive season…
Everyone likes a good old knees up, whether it be for Christmas or new year, we’ve got a great and unique way to get your guests in the mood for your party.
The customised invitation tin…
Sometimes all it needs to be convinced to go to a party is the right kind of invitation, here we show you a really cool way to send your invites in style!
What you’ll need:
Some old Altoid style tins (you’ll need as many as people you’re inviting – obviously!) or you can buy in bulk from our friends at tinwaredirect.com
Some customised stickers for the outside of the tin from Diginate
Some customised labels for the inside of the tin from Diginate
Your incentives for your tin! Here we are using:
A party hat
A party popper
Some cut up coloured tissue paper
A business card with contact details for RSVPing
A minature bar of chocolate (but you could use anything relative to your party!)
Some design imagination and either a piece of image manipulation software – we recommend GIMP for free unless you have the likes of Photoshop – or you can use our online designer here on Diginate.com
What you need to do:
Firstly, you need to measure your tin!
On our invite tin, we’re going to put a sticker on the lid and then a label on the inside of the lid, so we’ll need those measurements – we wouldn’t recommend making the sticker go right to the edge; it makes them harder to apply neatly.
We’re going to use this tin:
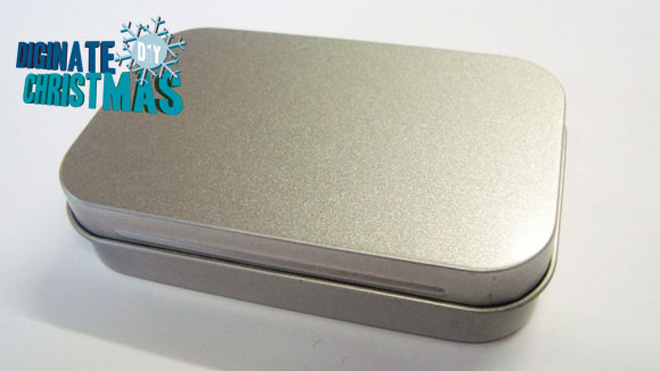
This is a template for our tin.
Once you’ve got your measurements, you need to head over to your image software or our online designer to mock up your stickers. We’re going to use metallic silver stickers for a bit of extra class! Here’s our design:
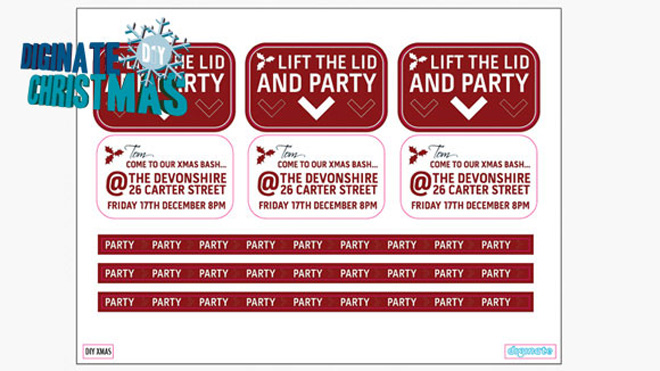
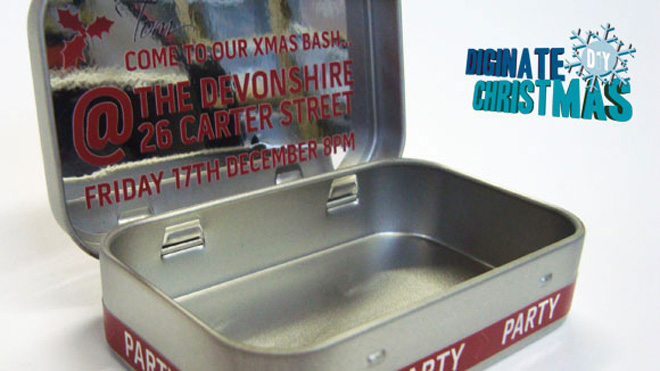
We’re using the inner sticker for details of the party date, location, time and other gubbins you think they might need…. Don’t forget to leave space for your invitees name(s)! If you scan in your signature, it’ll look more personal.
Now all you need to do is order those stickers and wait patiently for them to arrive on your doorstep… … When they do, it’s creation time!
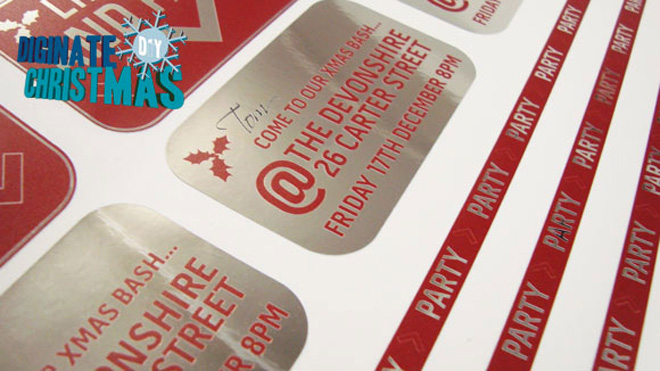
Make sure you’re tins are nice and clean, so give them a quick wipe down first, it’ll make the stickers bond better.
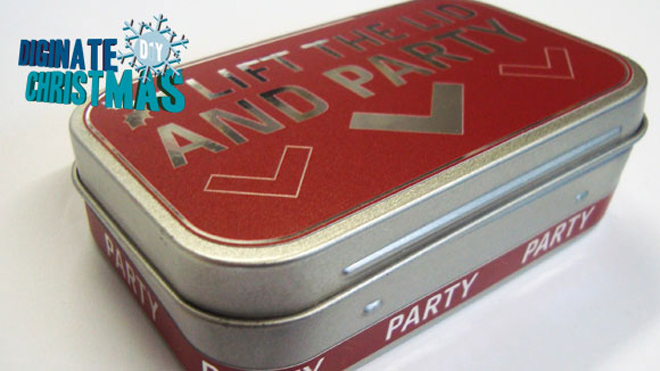
Stick your invite label on the inside of the tin and your graphic sticker on the lid. Next, the fun bit!
Packing the tin full of stuff!
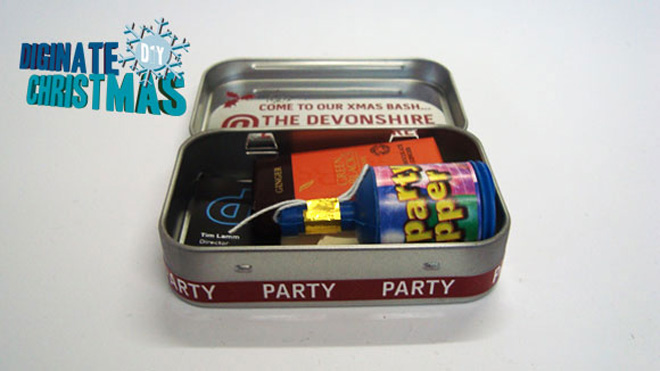
Cut up some of your tissue paper and lay some in the bottom, then add your party incentives. Here’s our finished tin:
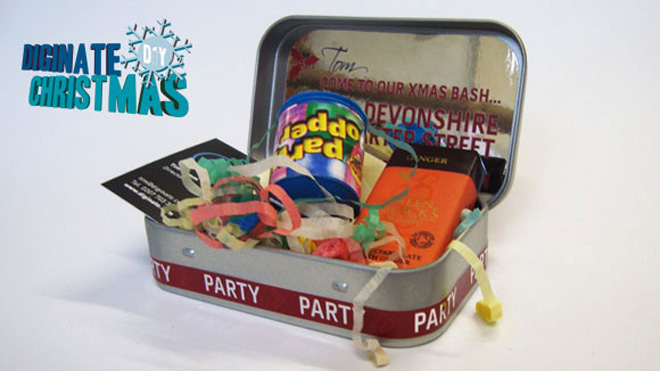
Close it up and if you’ve got an invite list of 50, you’ve got another 49 to do! So get cracking!
Once you’ve made your tins, make sure you upload a piccy of them to our Facebook fan page… any submissions will get 25% off their next sticker order!


