We made an acrylic art frame!
Posted: in Design, Miscellaneous, Projects
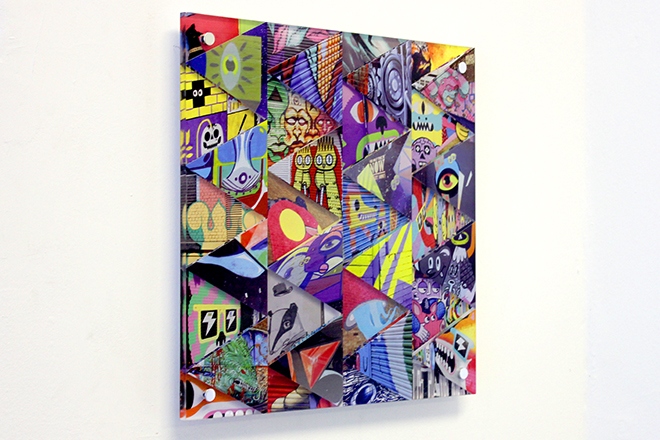
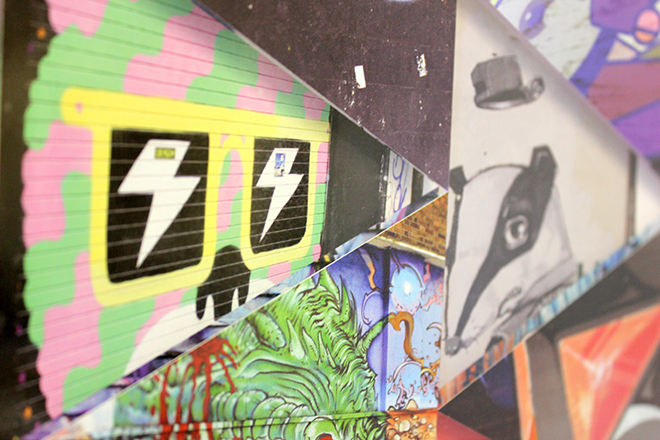
Having recently done our windows, we also wanted to add some colour to the inside of our office. Inspired again by the colourful art around Shoreditch, where Diginate HQ is, we made an acrylic art frame with a street art photo design, with some help from The Plastic People.
As you may or may not know, Diginate loves acrylic. We’ve seen a few acrylic photo frames around recently and we feel it’s a nice take on the traditional photo framing. However, we wanted to step it up a notch so we decided to use our vinyl stickers with a clear acrylic frame to create an interesting art piece that could brighten up our office.
We were inspired by the amazing street art of East London, featuring work by some of the world’s best artists, such as Malarky, Billy, Flip and ROA. We went out and took photos all around the area and designed this triangular layout.
The Plastic People are experts in all kinds of plastic materials, and they are flexible on size and quantities, so they were the perfect choice for our project. They sent us a 1 cm thick 40x40cm Clear Acrylic (Perspex) sheet and we used a Gloss Window Sticker (for the back) and a Clear Vinyl Sticker (for the front) to create our one of a kind art frame.
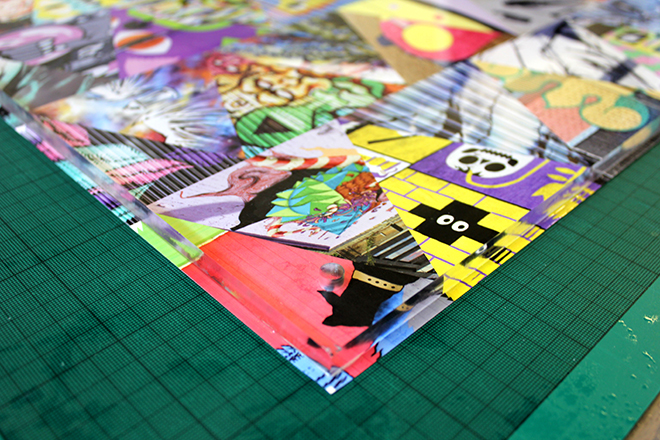
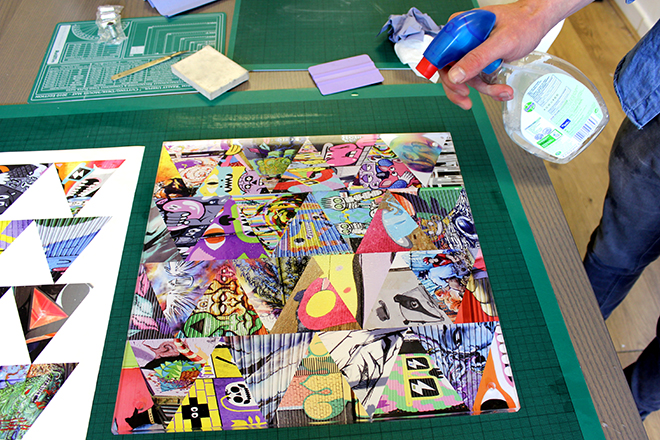
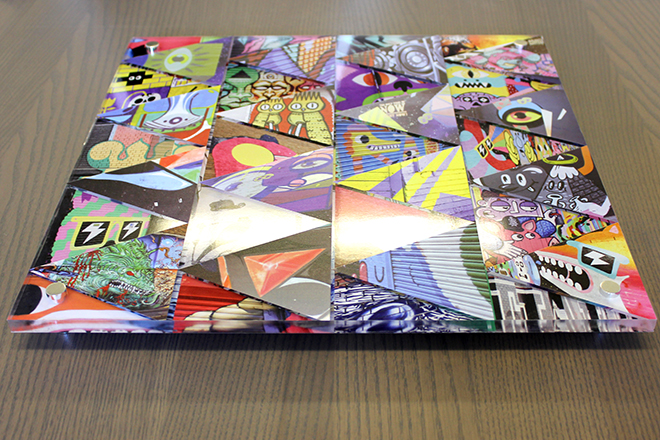
There is a full print on the back and half the triangles are printed onto the clear sticker on the front. We used different photos on the front and the back, which adds another layer to the design.
Scroll down to see how we made it. We originally wanted to make the frame under the cover of darkness, to set the mood, but fumbling around for the scalpel in the dark made it a bit too dangerous. One of us was, however, wearing a hoodie jacket.
This is pretty much all you need to create your art frame; acrylic sheet, two stickers, wall fixings and screws. Tools and hoodie jacket are optional, but recommended.
The acrylic sheet was perfectly smooth and crystal clear.
Here’s our window sticker for the back of the frame. We added a 5mm bleed to the artwork so we can easily place it on the acrylic and trim the edges.
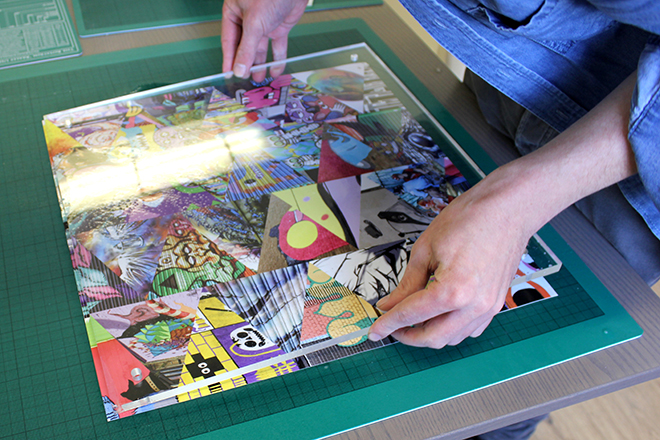
We sprayed some liquid on the sticker first so it’s easier to position the sticker.
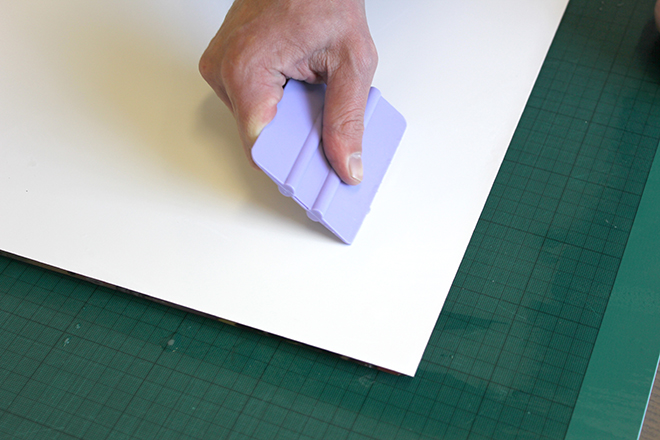
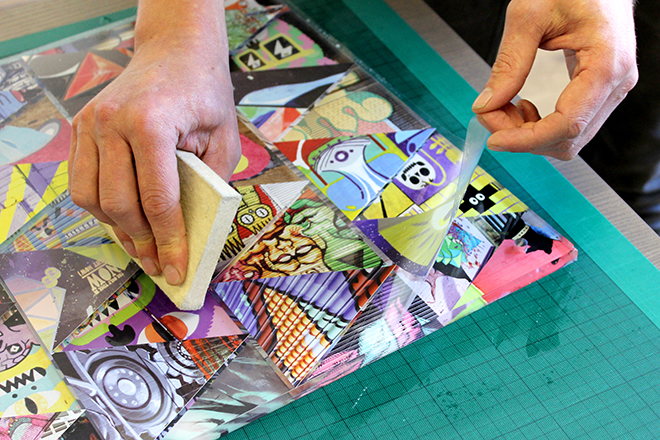
Then it’s just a matter of squeezing out the liquid and air bubbles.
As you can see, the acrylic is perfectly transparent and works well with our window sticker.
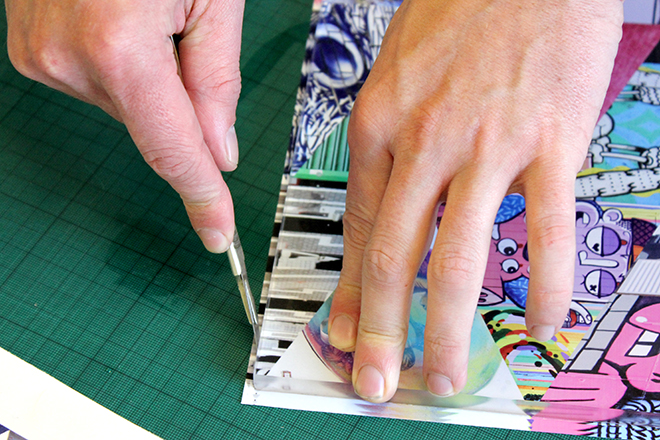
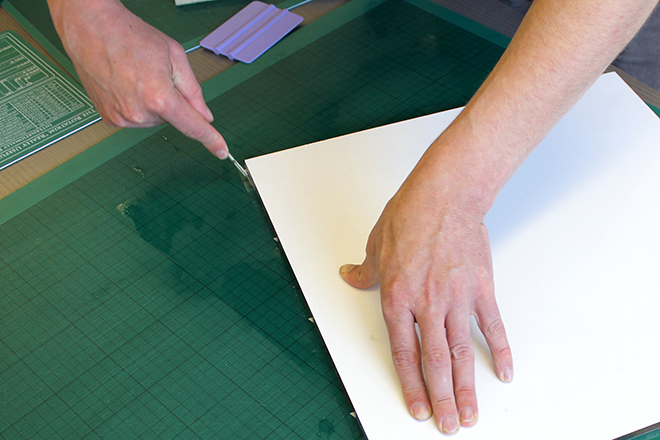
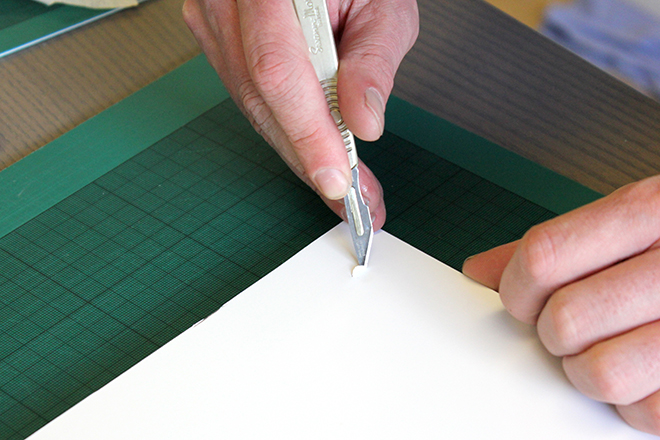
Use a scalpel or knife to cut off the excess vinyl.
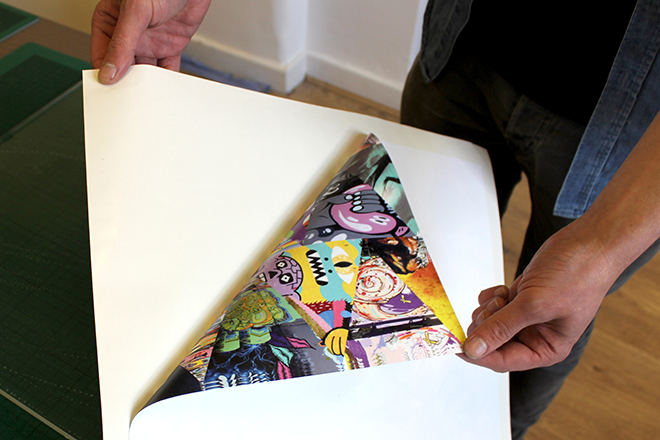
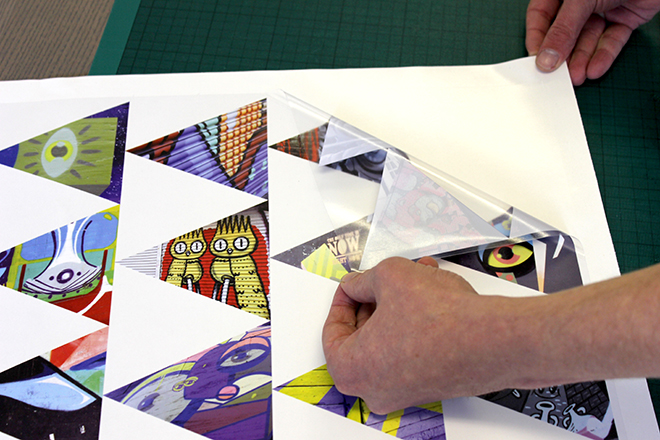
Time for the front sticker. Again we sprayed some liquid on it first, which makes it a lot easier to put it on correctly.
Our clear stickers are always backed in white so the colours really stand out.
Positioning is easy because of the liquid.
When you’re happy with the position of the sticker, just squeeze out the liquid…
…and trim the edges with a scalpel.
DDDPPP: Double Denim Dressed Proud Picture Parent!
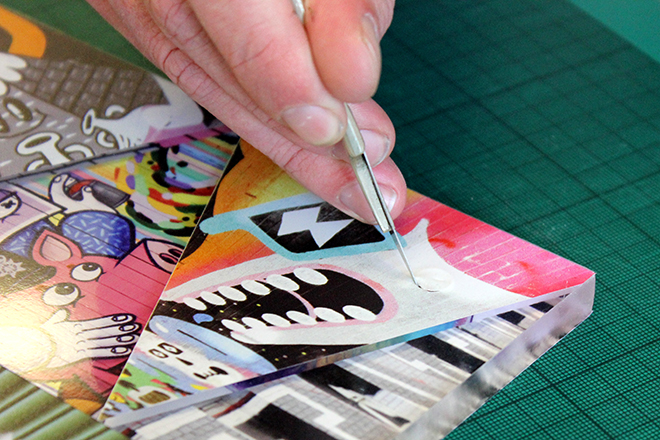
The final touches is to cut holes on the front…
…and back…
…so we can put the wall fixings in.
Lovely!
After some hard work we managed to screw it to the wall. It’s even straight! Or at least as straight as our wall is, which is not really that straight to be honest.
The slightly matt finish of the colours on the clear sticker contrasts well with the glossy window sticker and acrylic.
Now we’re thinking about making a greenhouse out of these bad boys! Of course we won’t be able to keep any plants in there since no light would get through, but it would look amazing!


