Tutorial: Create your own custom iPhone case graphics
Posted: in Projects
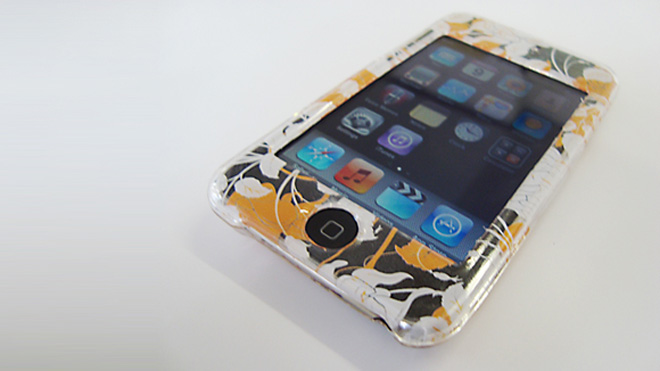
Here’s a nice way to customise your iPhone or iPod Touch with any image you like using clear diginate stickers.
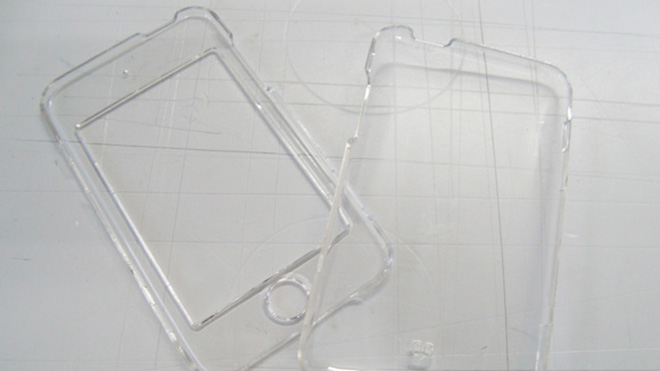
First off, you need a clear case – these are cheap and available everywhere; mobile phone shops, market stalls, supermarkets. Here’s the case I’m using:
This is the artwork I’ve put together for my case. The white layer is represented in blue but I’ve labelled it ‘White’ on the layers palette. The cut line is shown in magenta – I’ve put rounded edges on, even though this wouldn’t be strictly necessary as we’re going to be trimming off the excess.
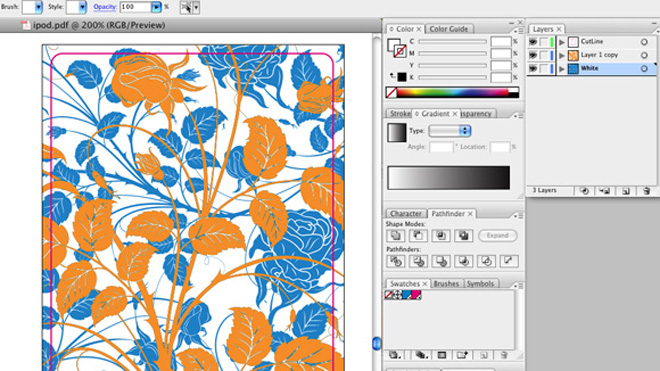
Next up I need to order this as a contour cut clear vinyl sticker. The dimensions are 7.5cm x 12cm, and I’m going to need 2 of them. Here’s the important bit – in the comments box at the end of the order process you need to request that the white layer is printed on top of the image, rather than underneath as usual. This will mean that the image will face out from the adhesive side of the sticker.
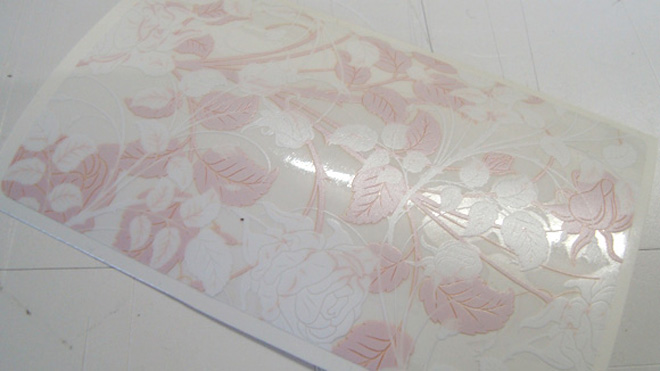
Here’s my finished sticker.
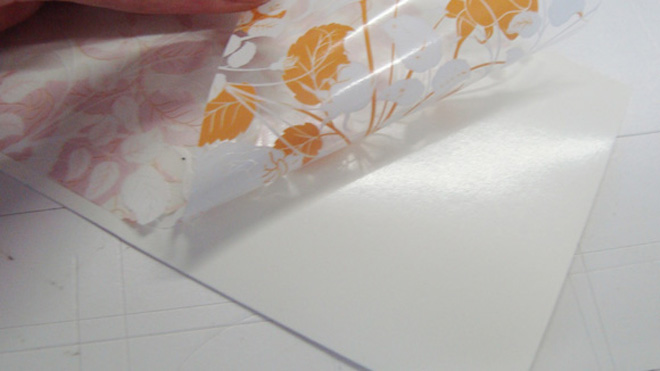
As you can see, the image is on the adhesive side of the sticker.
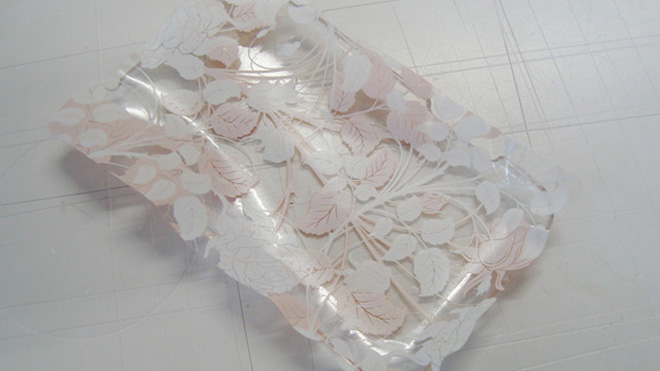
Now the fun bit – applying the sticker to the case. To do this take the sticker of it’s backing and lay it on the top of the inside of the case. You can then rub it onto the plastic using your thumb.
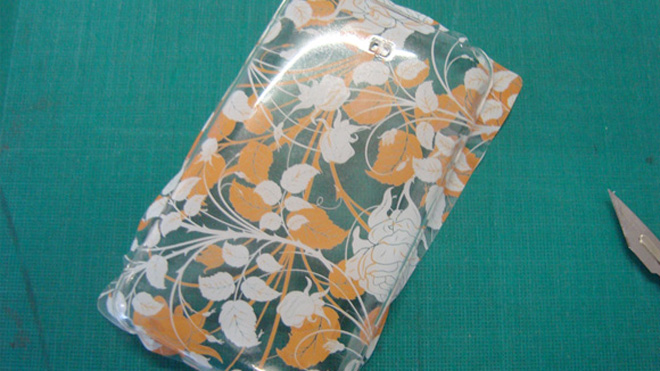
You should end up with something that looks like this. Now take a sharp blade (I’m using a scalpel) and carefully trim the excess from the sides. It can be a little tricky in places as the edges of the case have small clips and recesses to enable it to snap together. Make sure the recesses have all the excess removed or the case won’t shut.
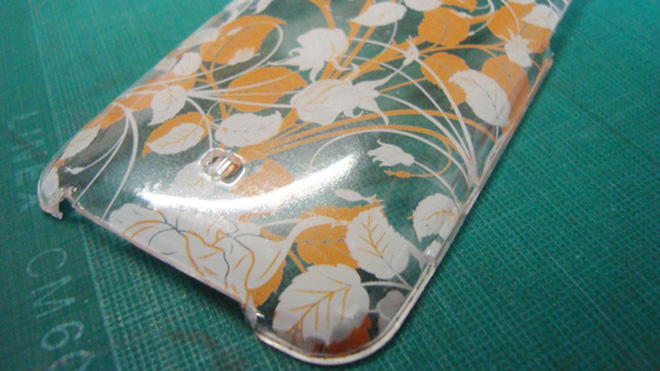
Now repeat the process with the front of the case. Trim out the window and hole for the button.
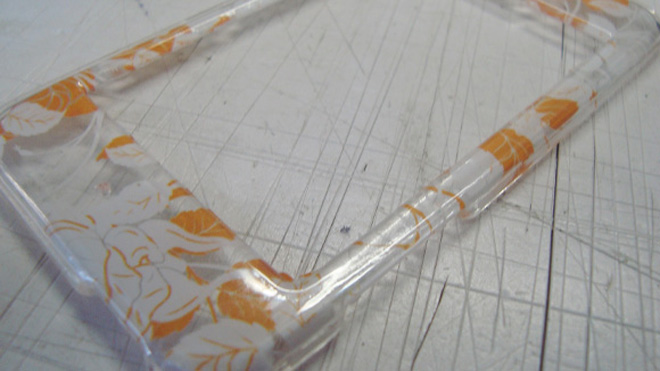
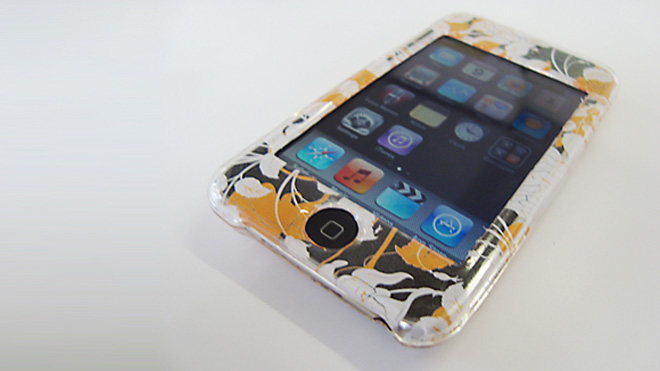
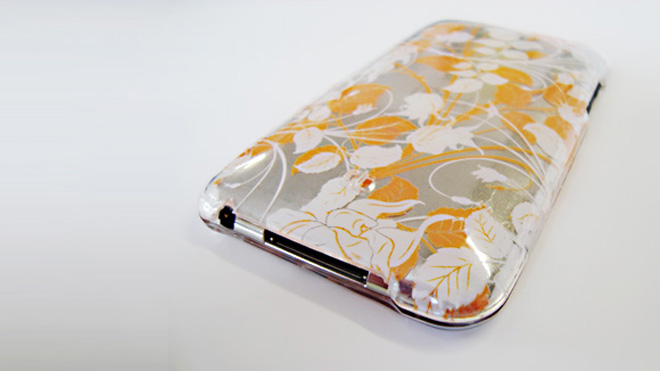
Finally, reassemble the case, and there’s your finished iPhone or iPod touch cover!
