Illustrator Tutorial: Create 3D globes with Map Art
Posted: in Design, Tutorials
Since the discovery of Keplar-452b back in July we’ve had many emails from aliens living on this far away Earth-like planet asking us exactly what Earth (or Keplar-452b II as they call us) looks like.
Obviously there’s many photos of Earth available online, but distant space aliens really appreciate the personal touch, so we thought we’d make our 3D image of Earth using Illustrator’s (occasionally) useful Map Art tool. Here’s how to do it yourself:
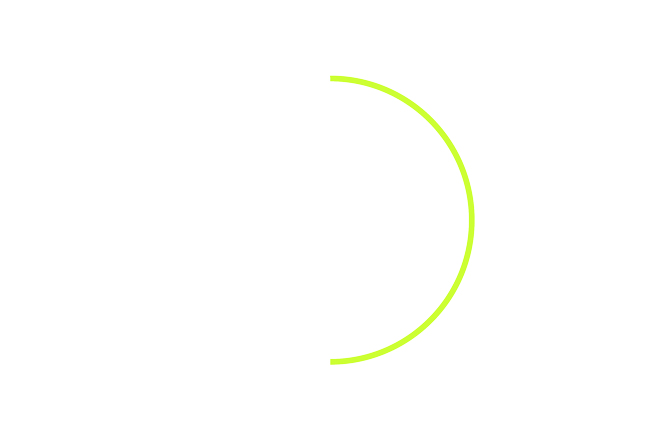
It all starts with a circle: draw one with a stroke colour of your choice; this will be the base of your hemisphere. We picked a raucous lime-green because, you know, why not…
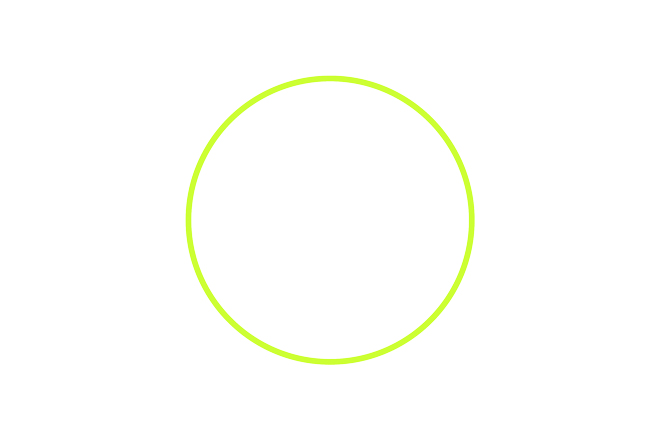
Next, select the left anchor point with the direct selection tool and delete it, leaving a semi-circle.
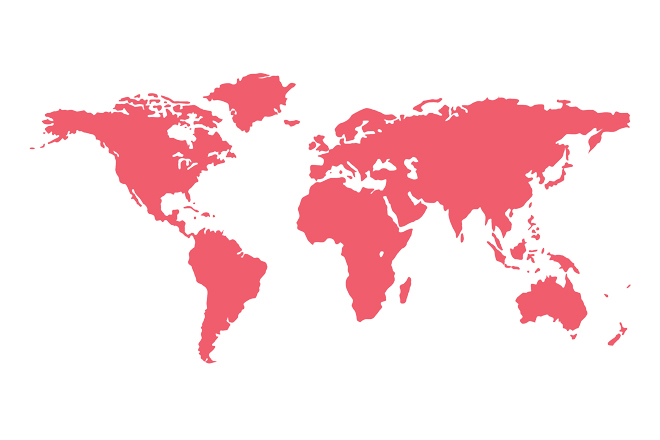
Now we need to create a world map. As we’re always super busy designing stickers we grabbed a pre-made one here.
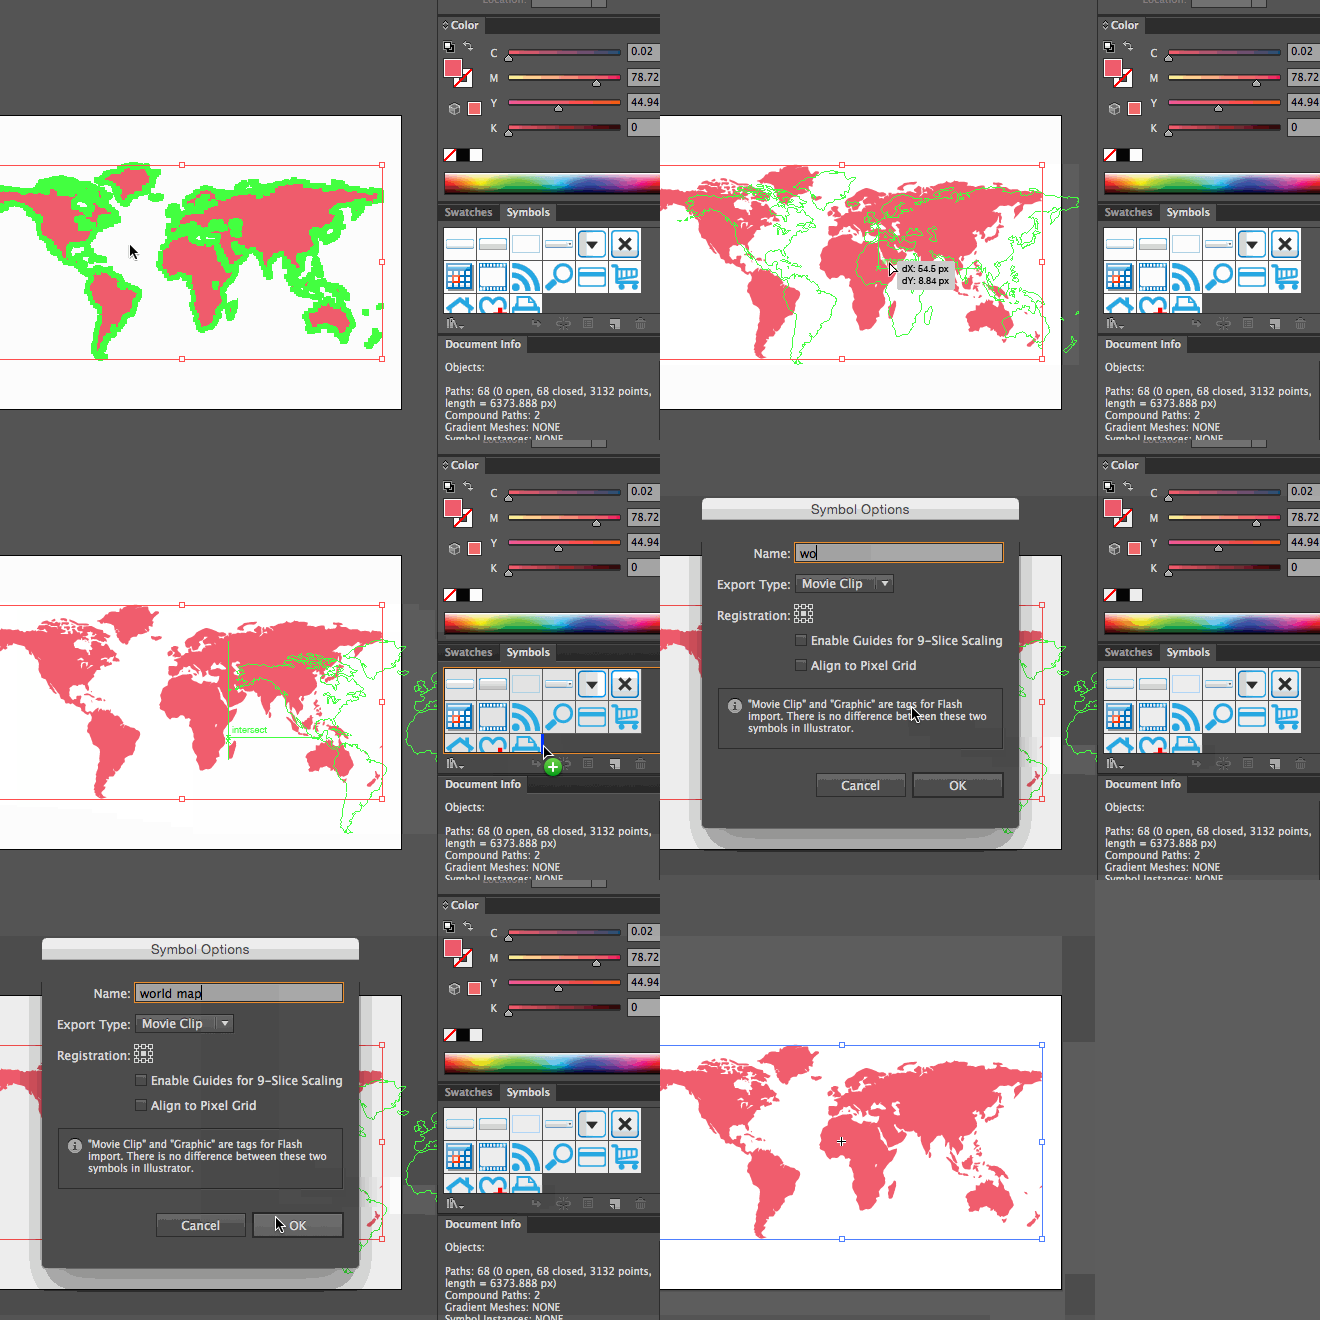
Drag and drop the world map in the Symbols panel to create a new… symbol.
That’s the easy bit taken care of but don’t worry, the rest isn’t rocket science either. Now’s the time to add the 3D effect. Click on the semi circle and then select Filter>3D>Revolve… from the menu.
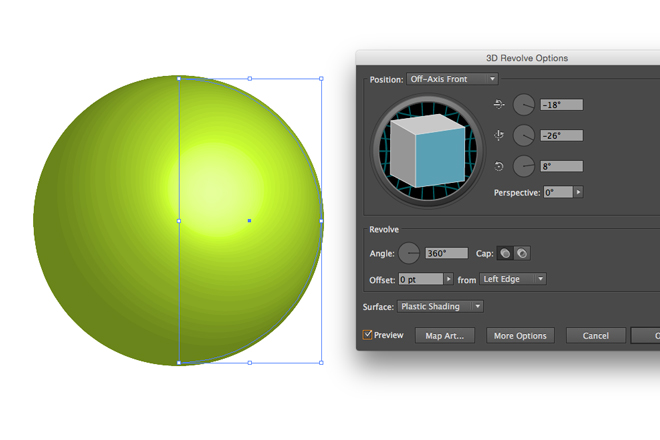
Later on you can play around with the various variables, but for now stop sliding and clicking around and focus on what it’s really important here: the Map Art button. Click on it. Go on, do it!
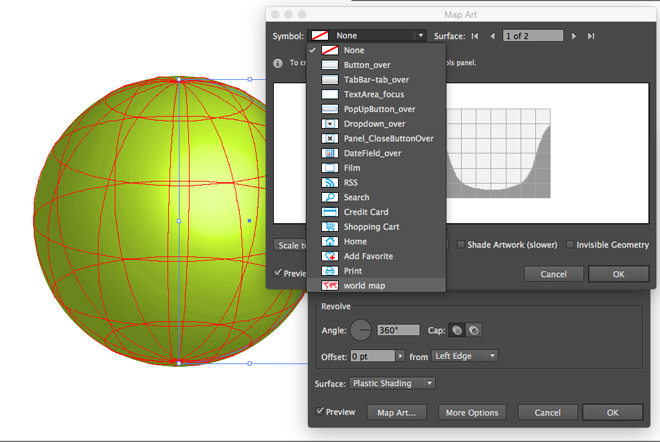
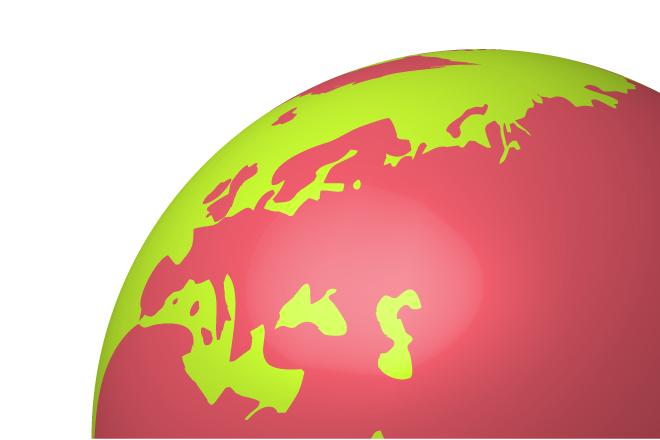
Don’t let this window putting you down. It’s actually very simple to use: select the ‘symbol’ we created earlier from the Symbol dropdown menu. Everything that overlaps the white areas of the graph will be visible on your finished graphic. We adjusted the position of the world map to show a close up of Socotra, the most alien looking place on Earth; guaranteed to make our Keplan friends feel right at home.
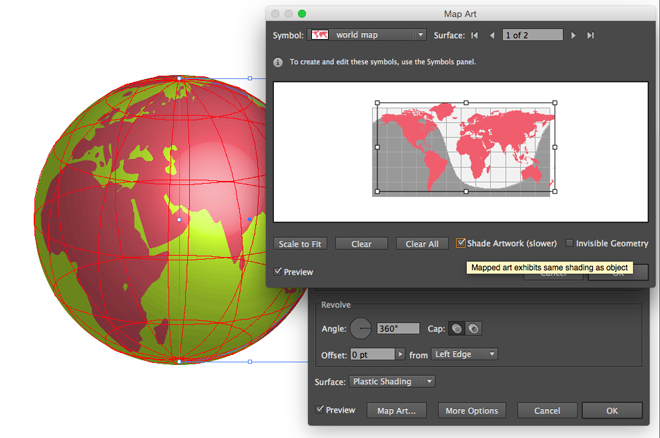
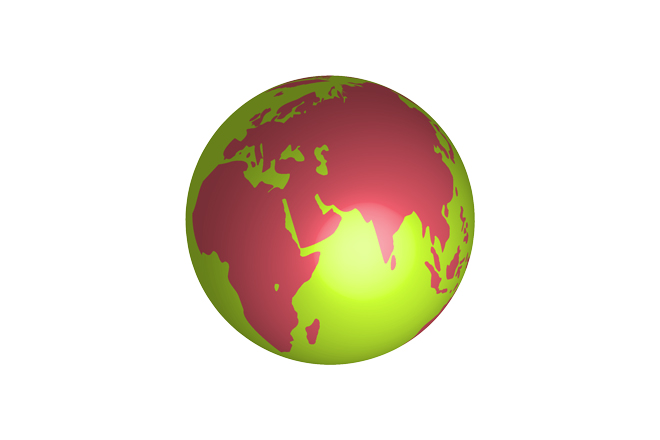
Voilà, job done – your own computer generated sphere. Now all that’s left to do is save it as a PDF and email it to outer space.
