We teamed up with Cut Laser Cut and made a chameleon clock
Posted: in Projects
When we heard about Cut Laser Cut we were excited. They’re a bit like Diginate, except that instead of offering heavily customised printing, they offer custom laser cutting and engraving on a vast range of materials. Immediately the possibilities of combining Cut Laser Cut’s services with Diginate prints became obvious.
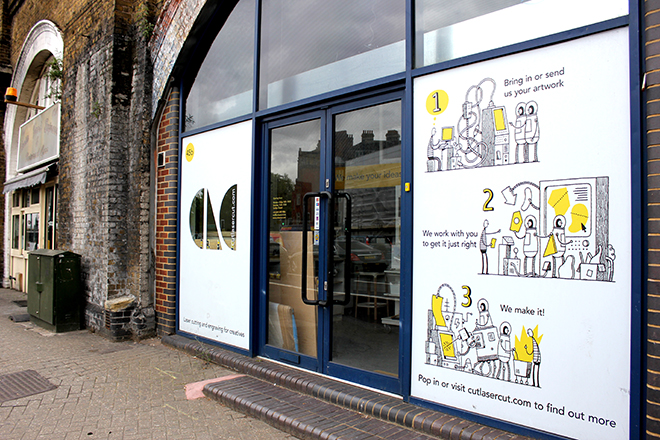
Cut Laser Cut are based in a railway arch in Vauxhall, South London. We decided that a chameleon clock was the obvious object to make, and so armed with a memory stick with cut files and a dream we made our way down the Victoria Line to play with fire.
Our idea was to make the greatest (only) chameleon clock ever. A timekeeping chameleon would sit on the clock face, chasing a wasp (the minute hand) around with his tongue (the hour hand). Wasps are a chameleon’s favourite food. As well as creating an important and revered timepiece, we also intended to claim the top spot on Google for the search term “chameleon clock”.
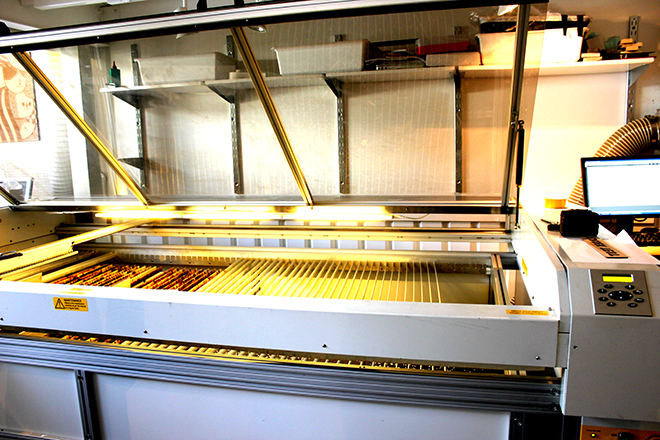
Cut Laser Cut have an array of dangerous looking laser cutting and engraving machines. They do not, however, offer laser eye surgery.
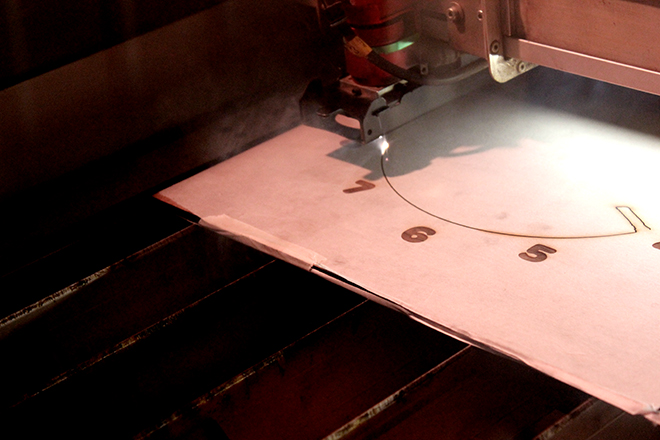
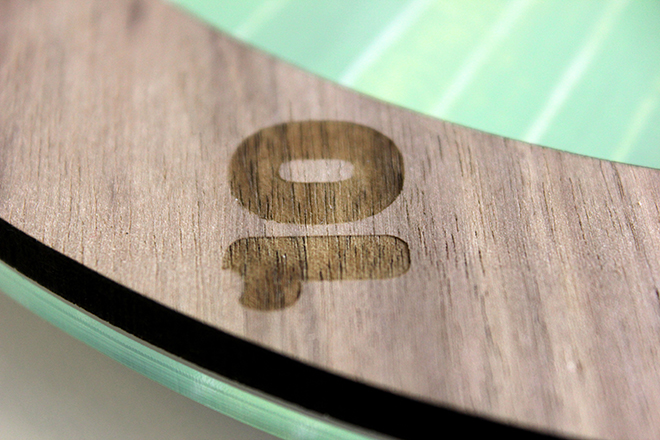
Here’s the outer rim of our clockface being cut in walnut. It has already been laser engraved with the numbers, in our signature Omnes font.
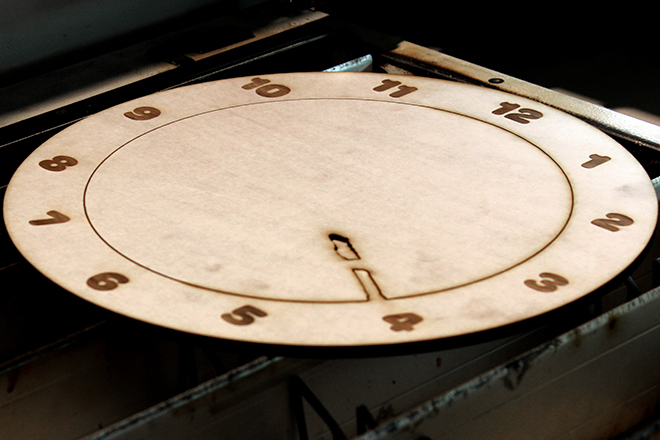
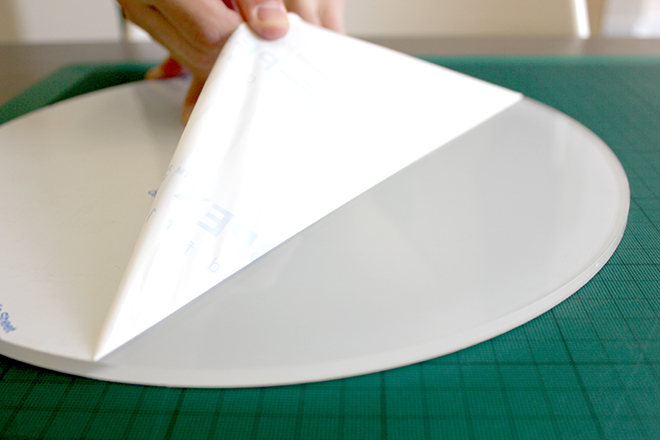
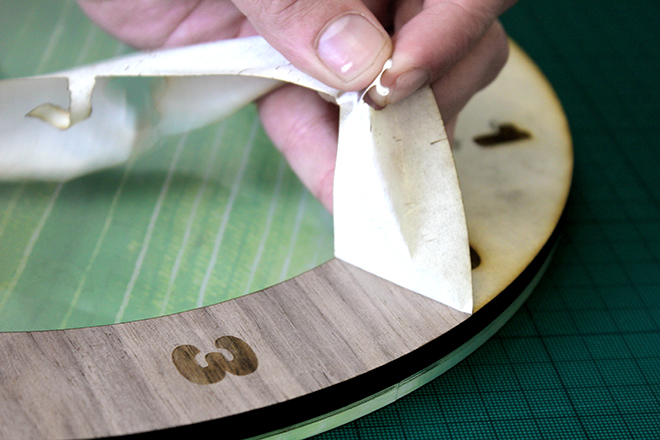
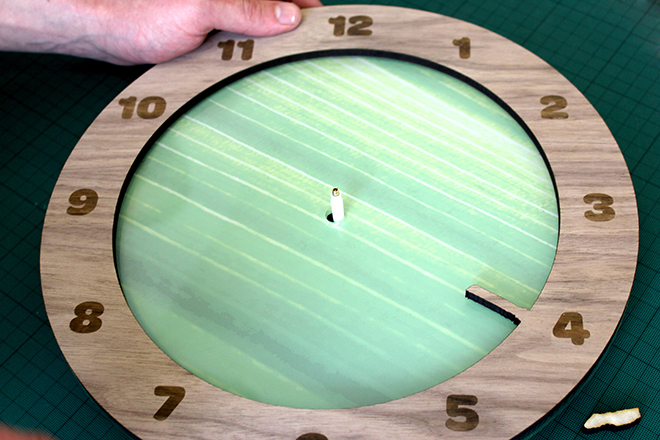
Here’s the completed outer rim of the clockface. There is a protective adhesive paper on the surface of the wood.
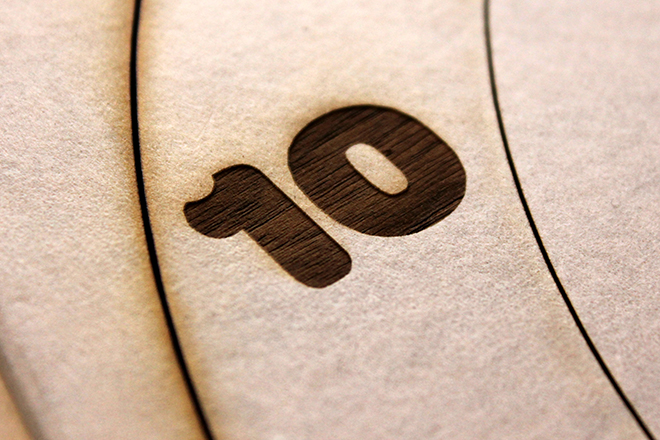
The laser engraving is super-sharp.
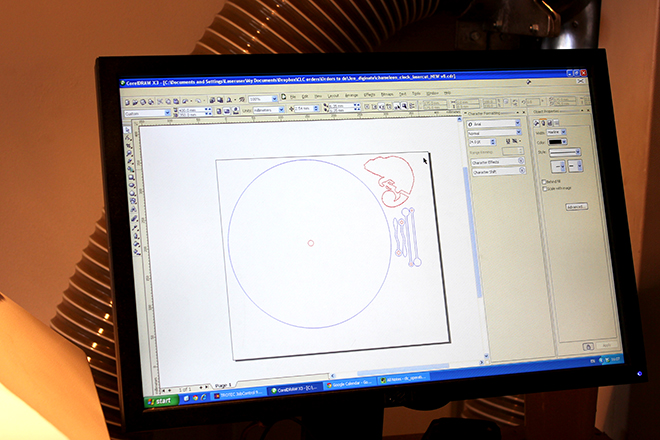
Here’s the cut file for the clear acrylic elements of our clock.
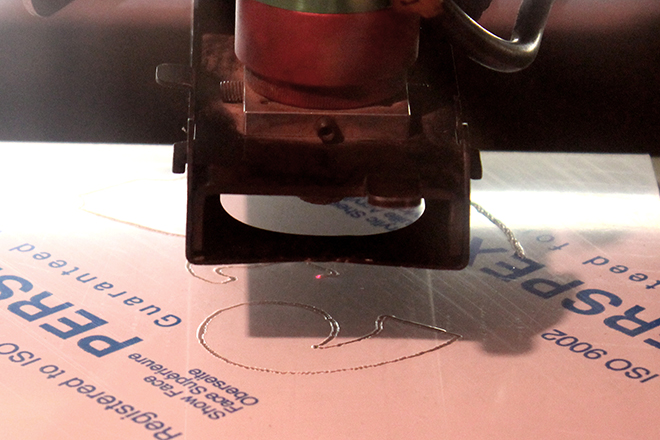
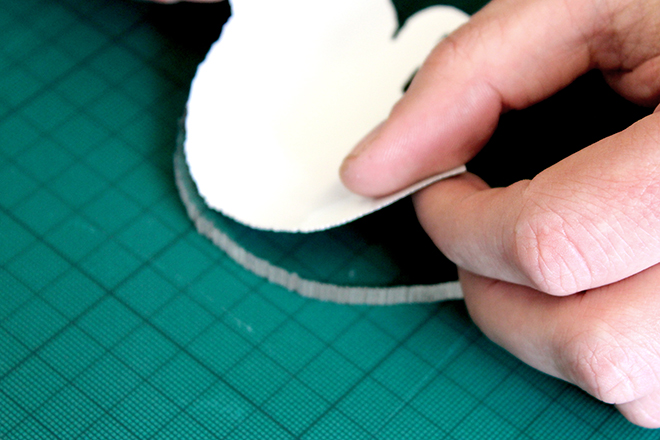
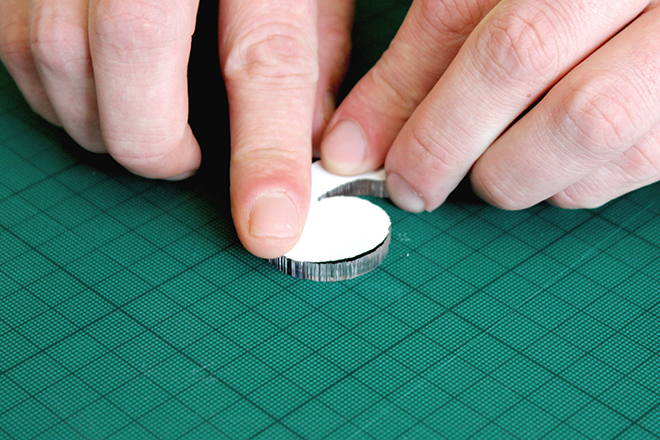
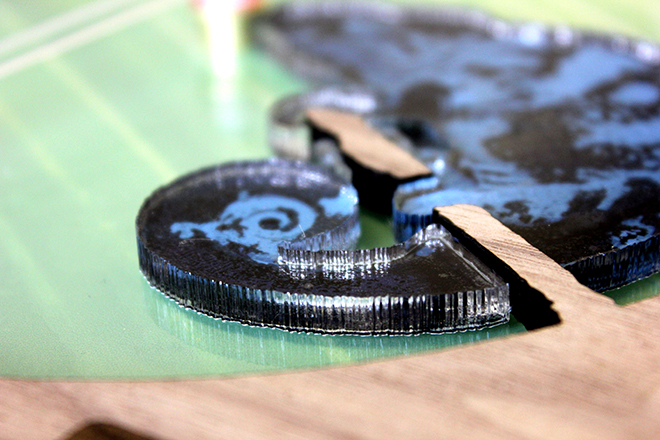
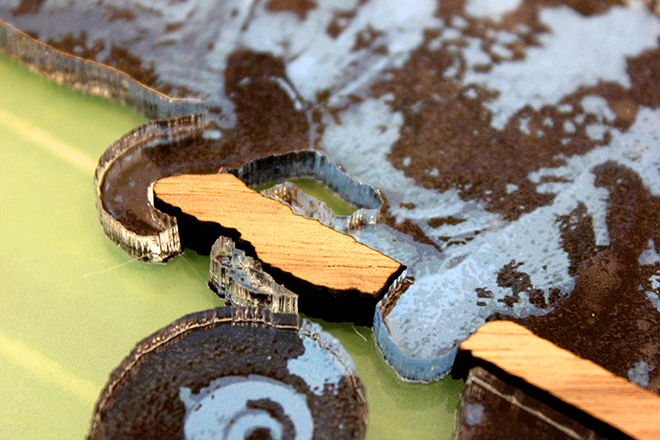
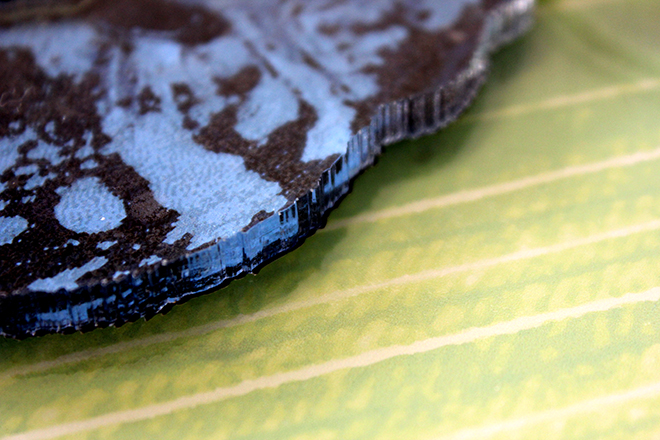
And the laser cutting in action. We’ve used an intricate ‘rough’ edge to our chameleon to represent it’s scaly skin.
Once all our components had been cut (which was surprisingly quick), we returned to Diginate HQ to start the build…
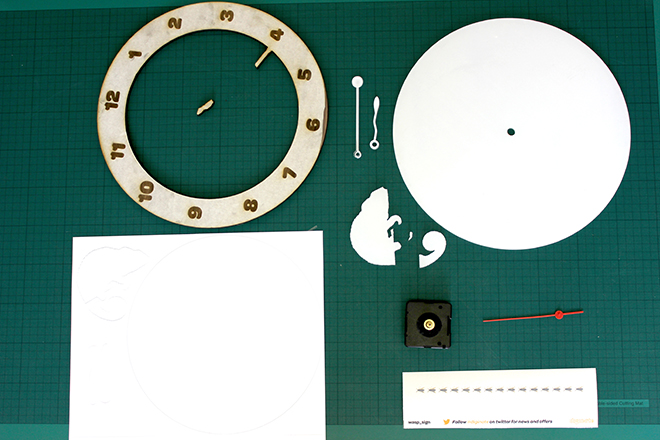
Here’s all our parts:
- Laser cut and engraved walnut outer rim
- Laser cut clear acrylic backplate, chameleon and clockhands
- Standard custom cut window stickers with the chameleon and background graphics
- Clear circular window sticker for the wasp
- A cheap quartz clock mechanism
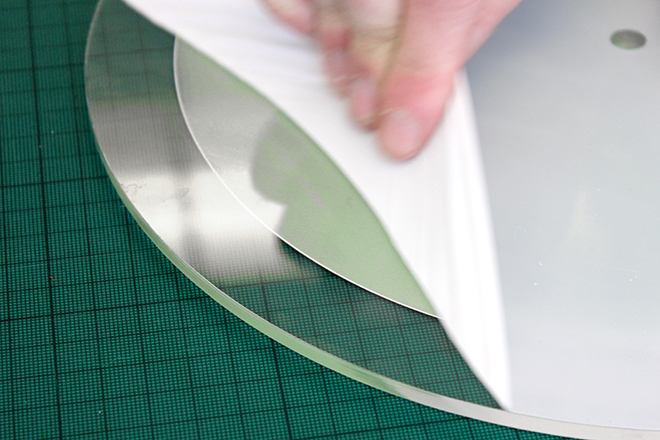
The clear acrylic has a protective film, which we removed in readiness for applying the background graphic.
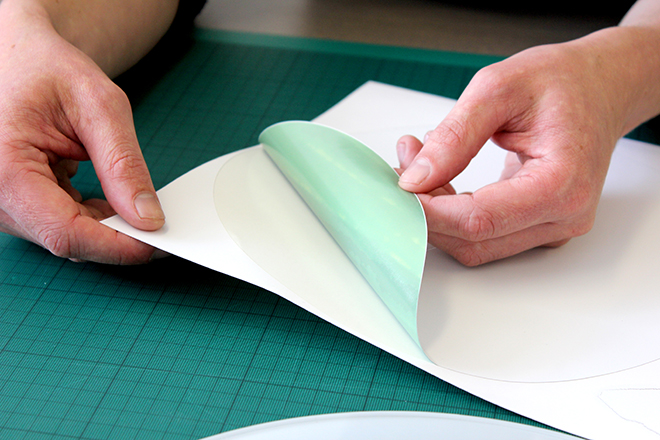
Here’s the background window sticker graphic.
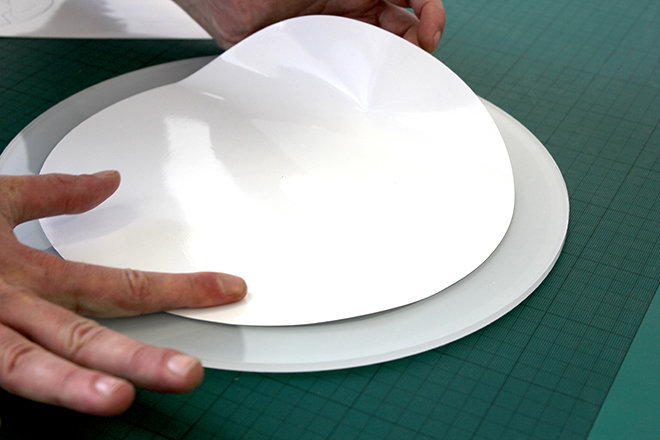
The window sticker is carefully applied to the back of the clock face.
And the top film is removed. Window stickers are great for applying to clear plastics for all kinds of purposes.
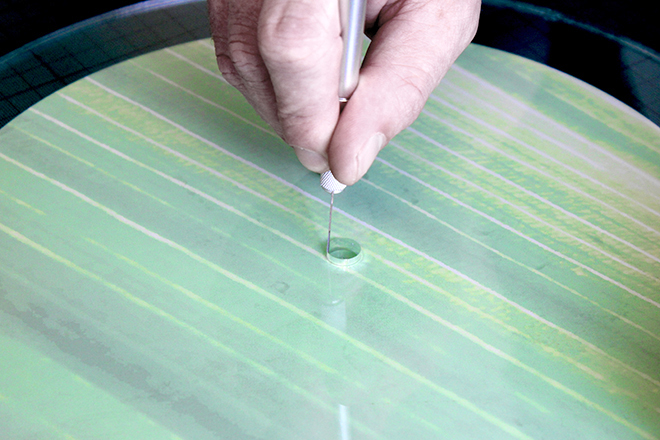
We cut the central hole for the movement by hand so we didn’t need to perfectly align a cutout.
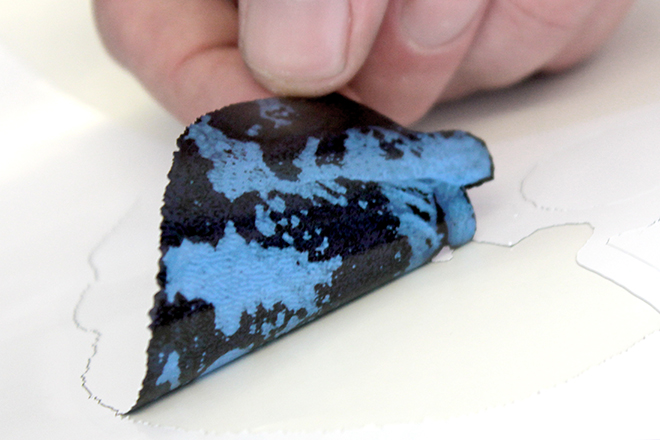
Here’s the custom cut chameleon window decal sticker. We chose a particularly fetching black and blue chameleon. What a champ.
Applying the window sticker to the chameleon.
And his tail.
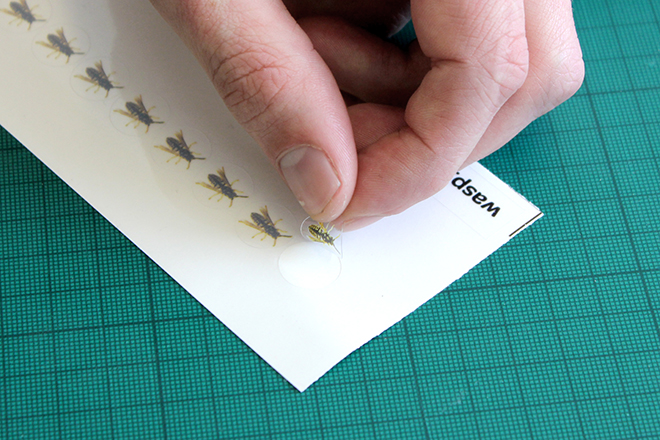
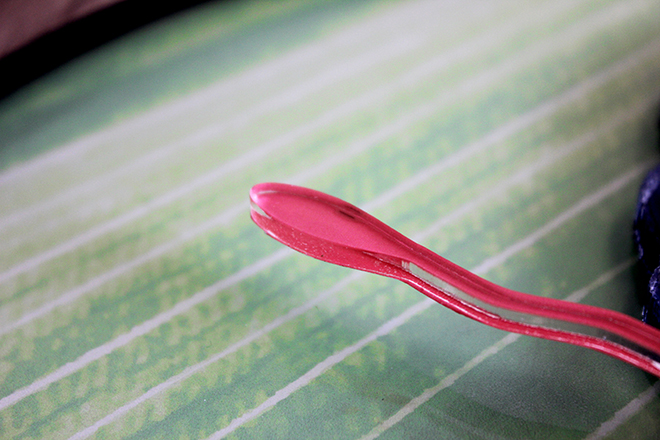
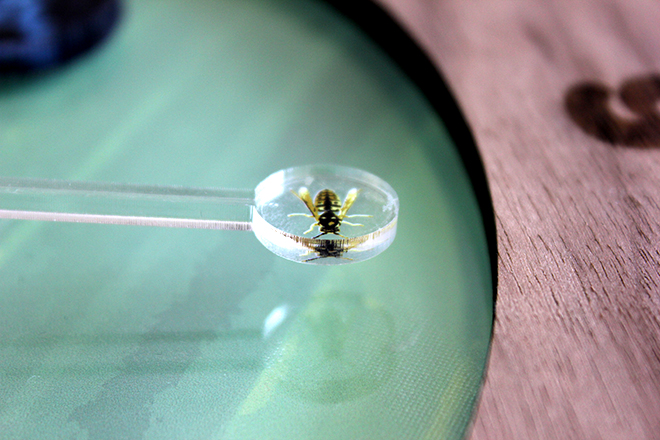
Here’s the clear wasp window sticker. We printed a few in case we messed up the alignment; they’re also useful for office pranks.
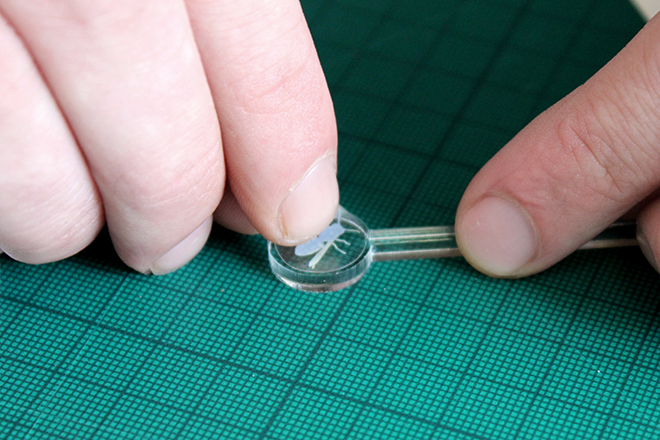
Applying the wasp sticker to the minute hand.
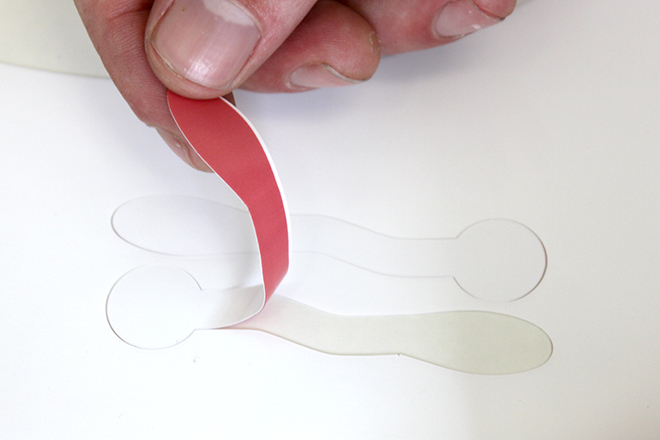
Here’s the custom cut tongue window sticker for the hour hand.
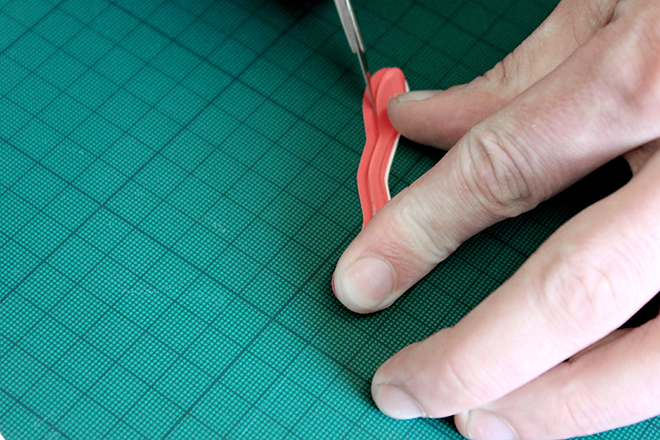
We made it slightly oversized to avoid any alignment issues, and trimmed it with a sharp scalpel.
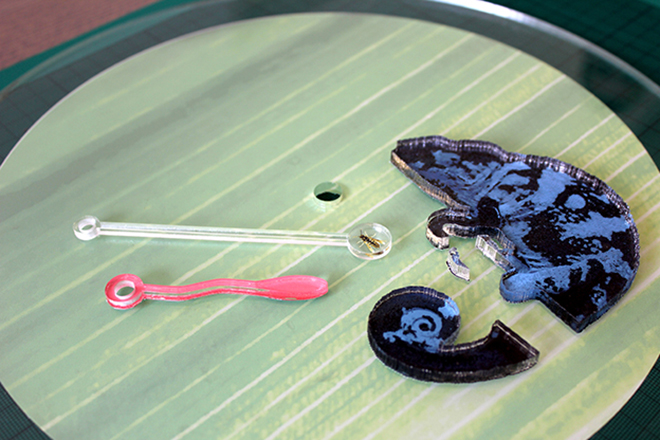
The finished acrylic components.
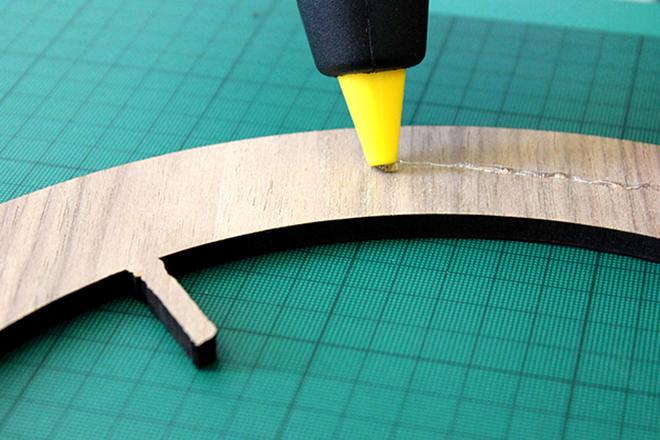
Next we applied glue to the back of the outer walnut rim…
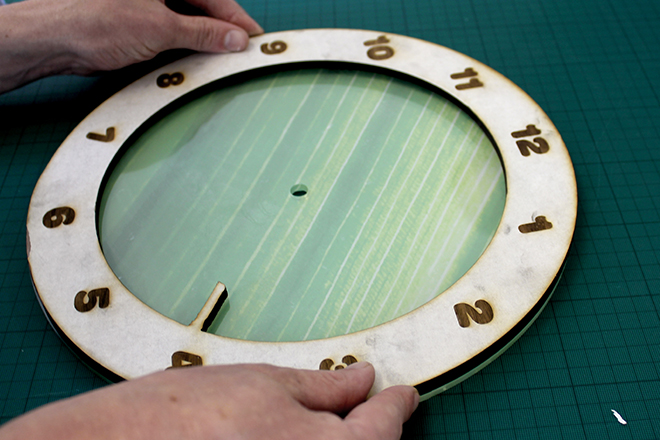
And stuck it to the base.
The most satisfying part of the whole project.
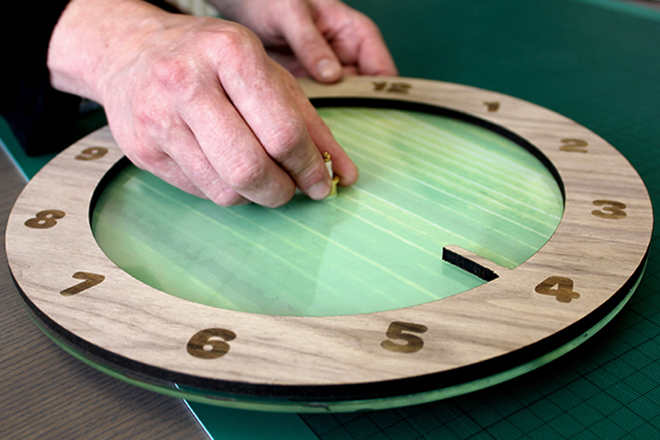
Next we popped the spindle through to attach the movement.
And secured it in place.
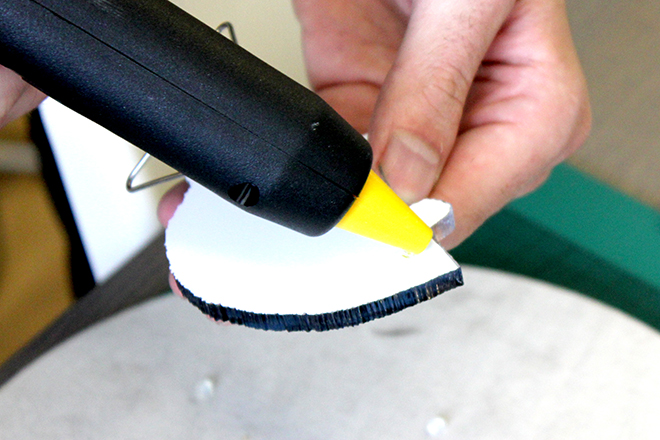
A dap of glue onto the chameleon…
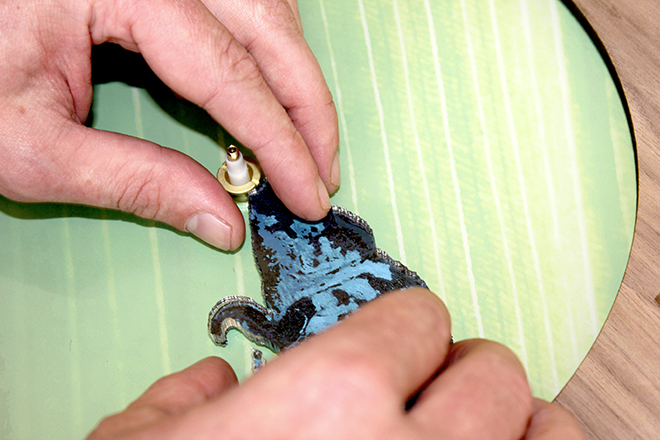
And fitted into place.
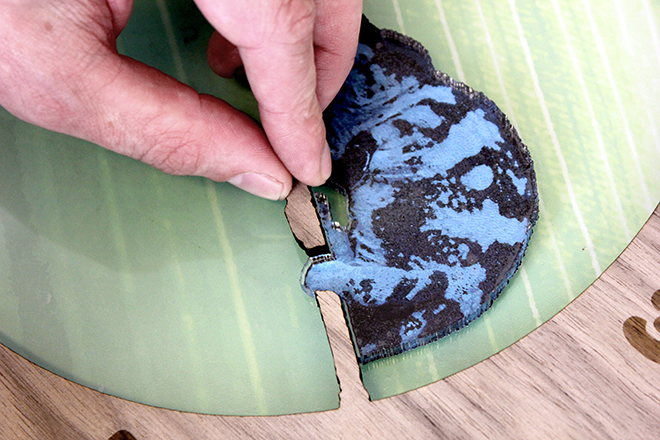
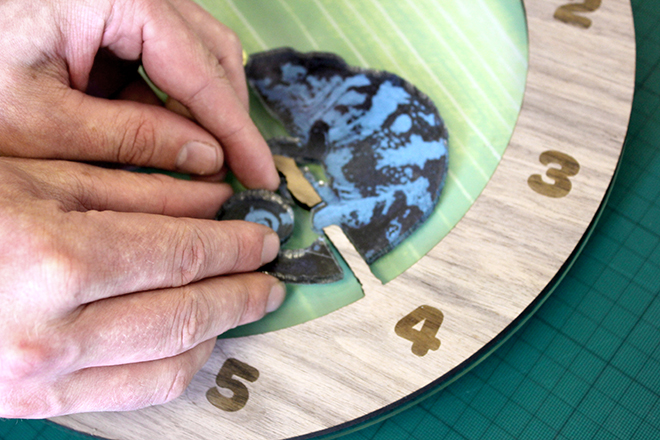
Amazingly we didn’t manage to lose the addition branch pieces. Here they are slotting in.
Adding the tail.
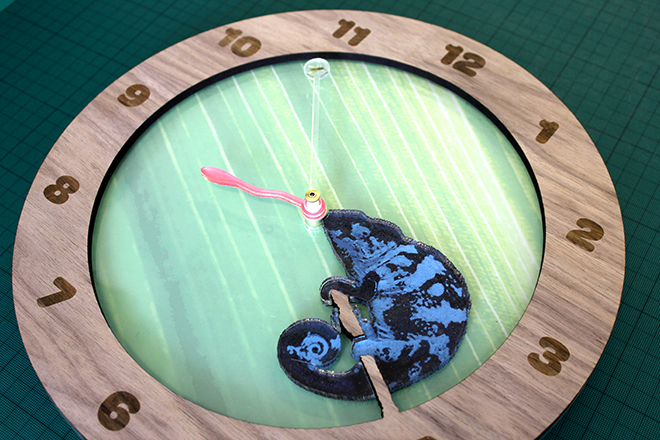
Then all we had to do was pop the hands on, stick a battery into the movement, and our chameleon clock is in action!
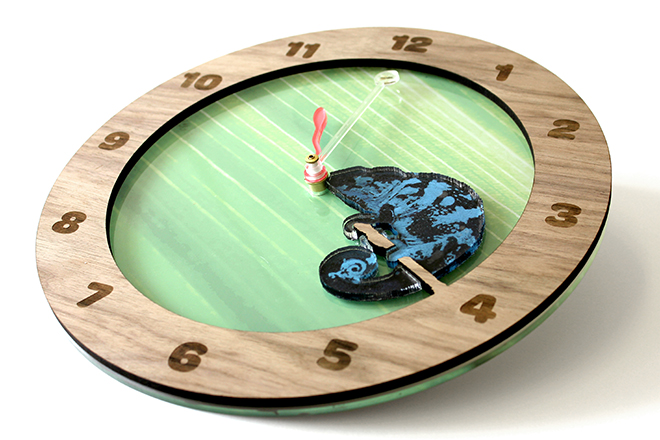
Here’s the finished clock:
Check out the Cut Laser Cut website for more information. They are also on twitter; you should follow them.
Thanks to Jamie at Cut Laser Cut for making our chameleon clock a reality!
